A great fashion shoot doesn’t end when the shutter clicks. What happens afterward — in the edit — is often what separates an amateur snapshot from a campaign-ready image. Two programs dominate that stage: Adobe Photoshop and Adobe Lightroom. They’re often mentioned in the same breath, but they solve very different problems. Knowing when to reach for which one can save you hours and dramatically improve your results.
Photoshop and Lightroom Aren’t the Same Tool
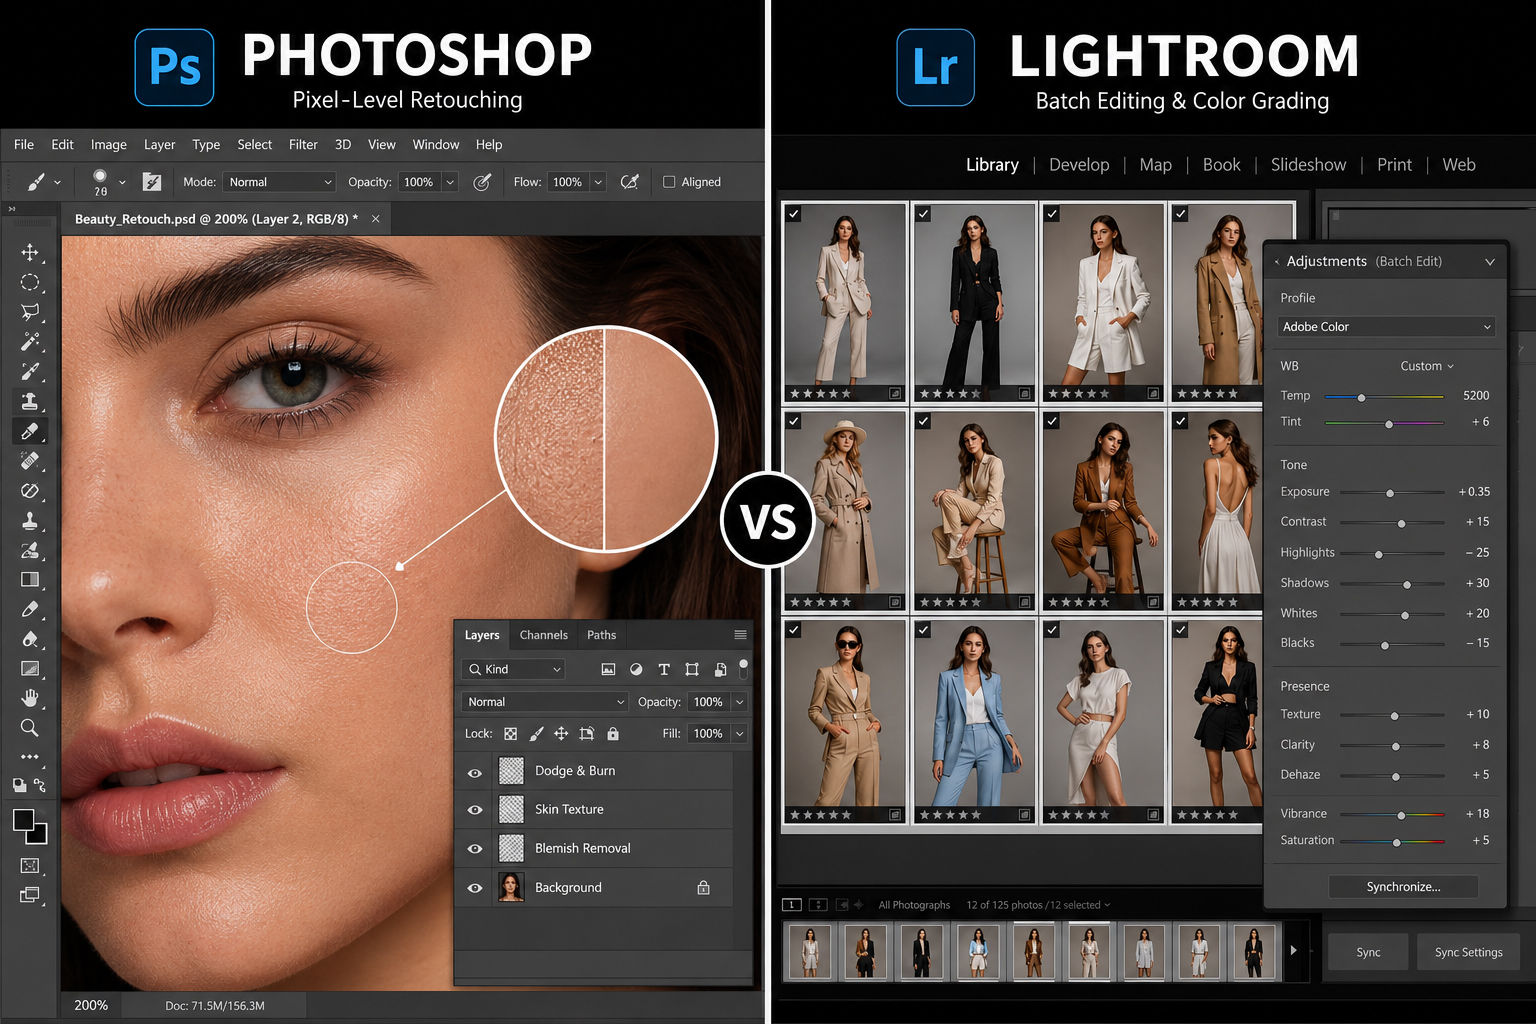
Photoshop works at the pixel level. It lets you reach into an image and change individual details — smoothing a stray hair, rebuilding a shadow, swapping out a background. That precision makes it the go-to for heavy retouching and composite work, though the sheer depth of its toolset can be intimidating at first.
Lightroom takes a different approach. It’s built for non-destructive editing, meaning your adjustments sit on top of the original file rather than altering it directly. That makes it ideal for quickly processing and organizing large photo libraries — exactly the kind of volume a fashion shoot tends to produce.
In short: Lightroom is where you manage and shape a shoot; Photoshop is where you perfect individual shots.
Where Photoshop Shines in Fashion Editing
Skin Retouching
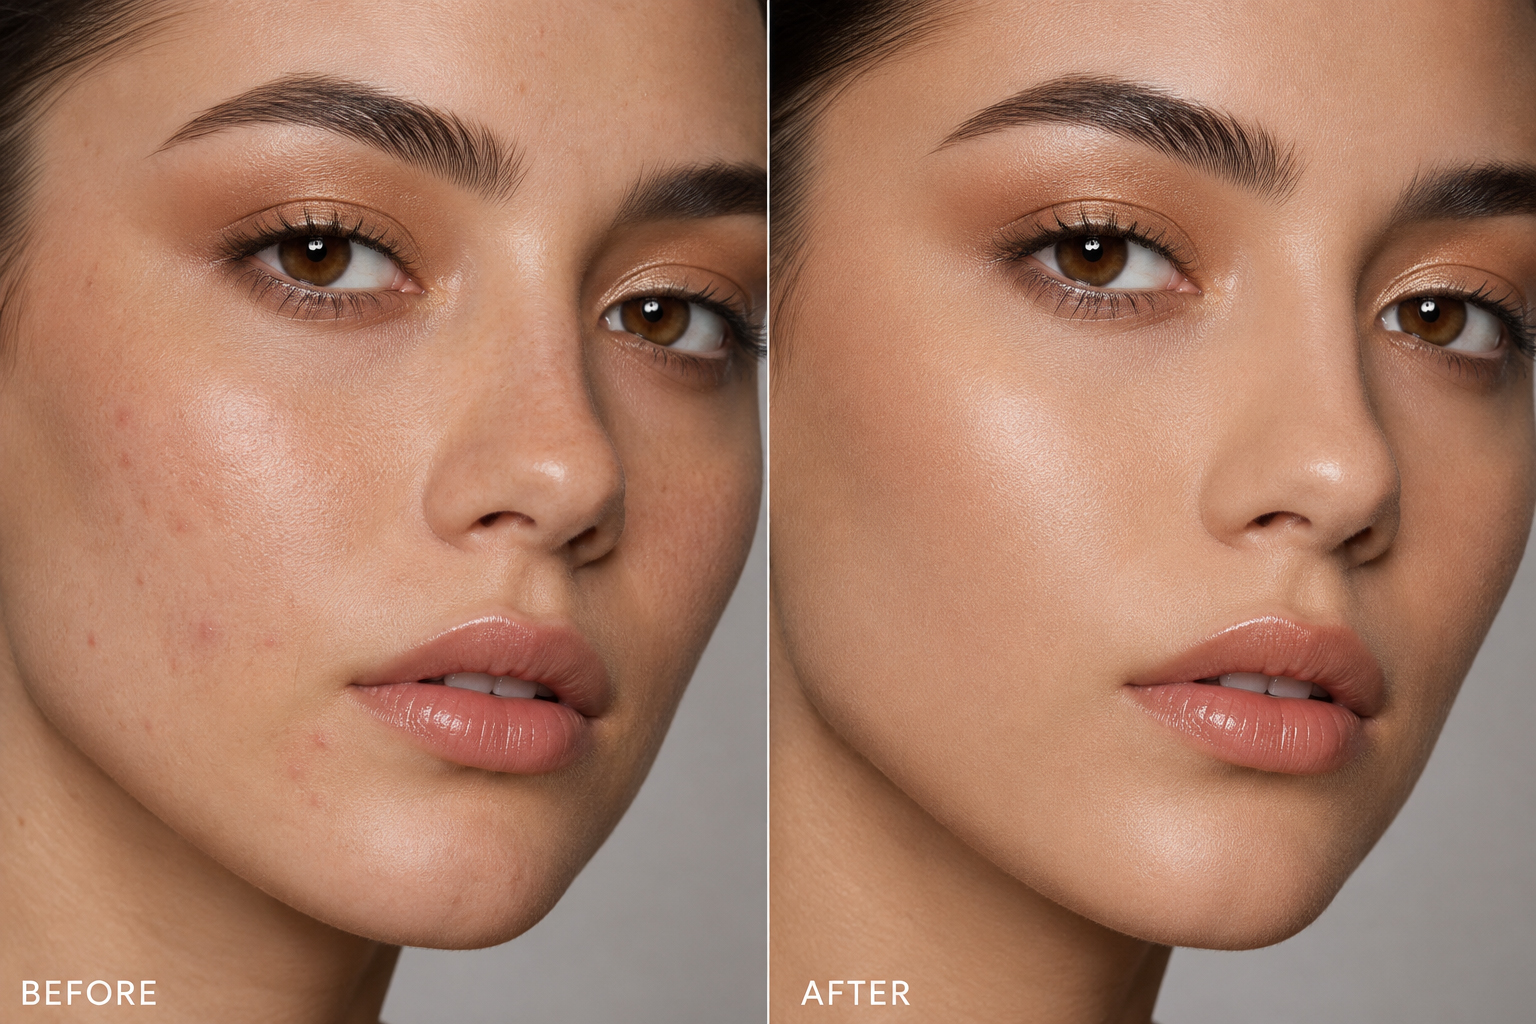
Flawless skin is a fashion photography staple. Tools like the Healing Brush and Clone Stamp let editors erase blemishes, even out tone, and smooth texture — all while keeping skin looking natural rather than plastic. If you’d rather leave this to specialists, professional photo retouching services handle this level of detail at scale.
Color Correction
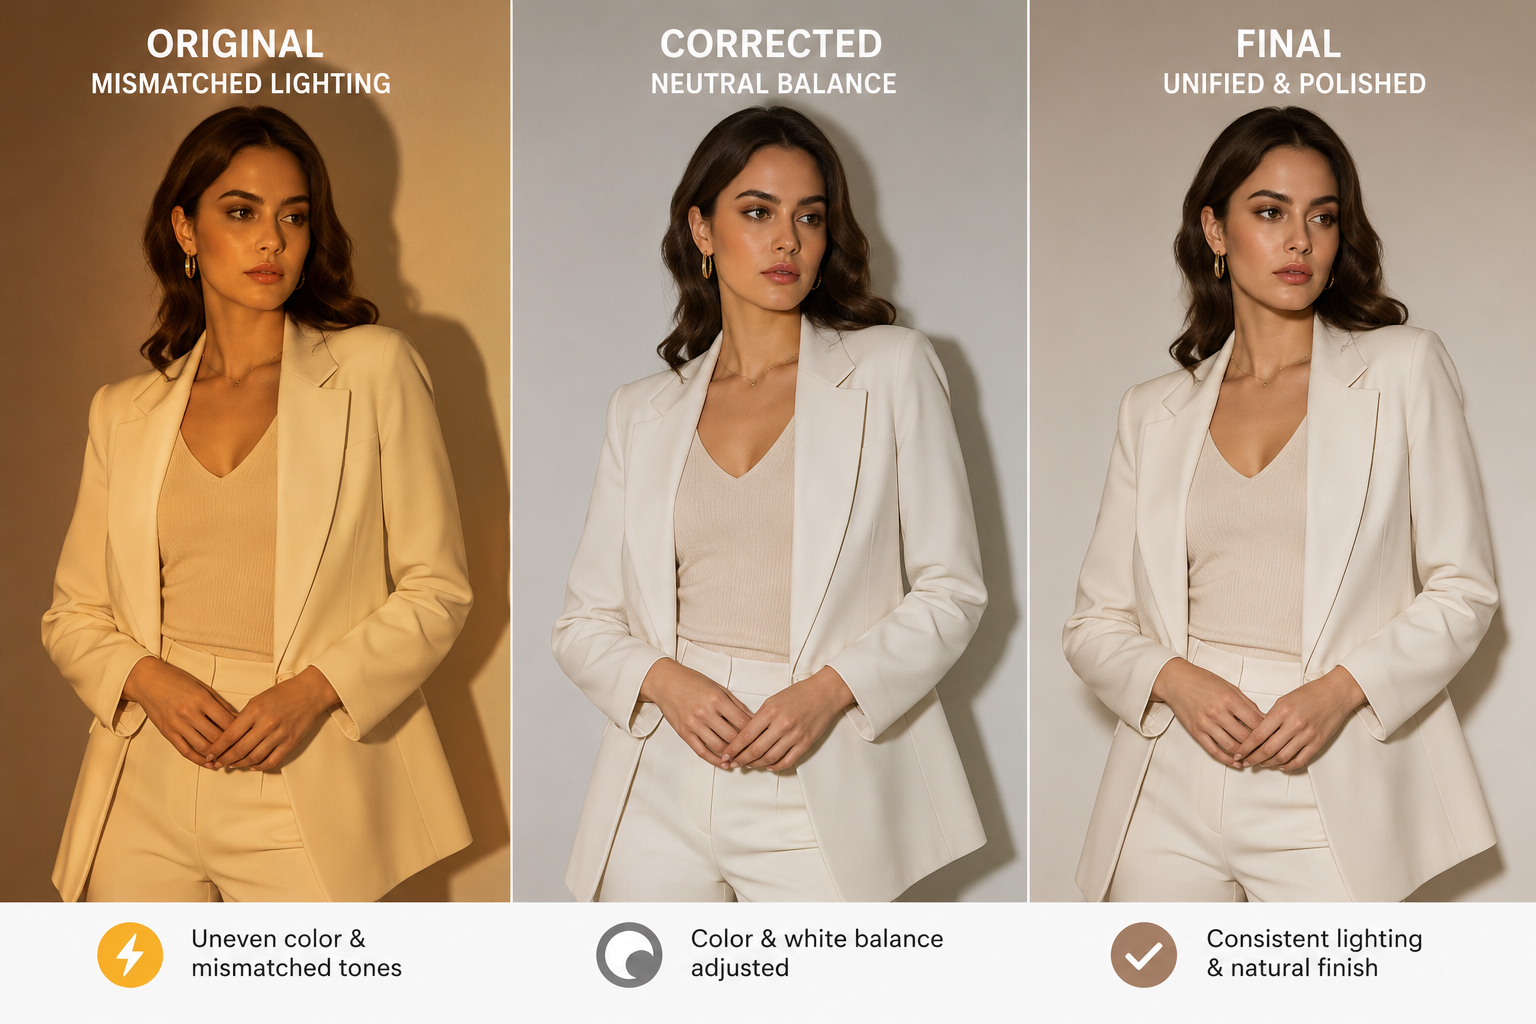
Shoots rarely happen under perfectly consistent lighting. Photoshop’s exposure, contrast, and color balance controls let editors correct inconsistencies between shots and unify the look of an entire set.
Textures and Overlays
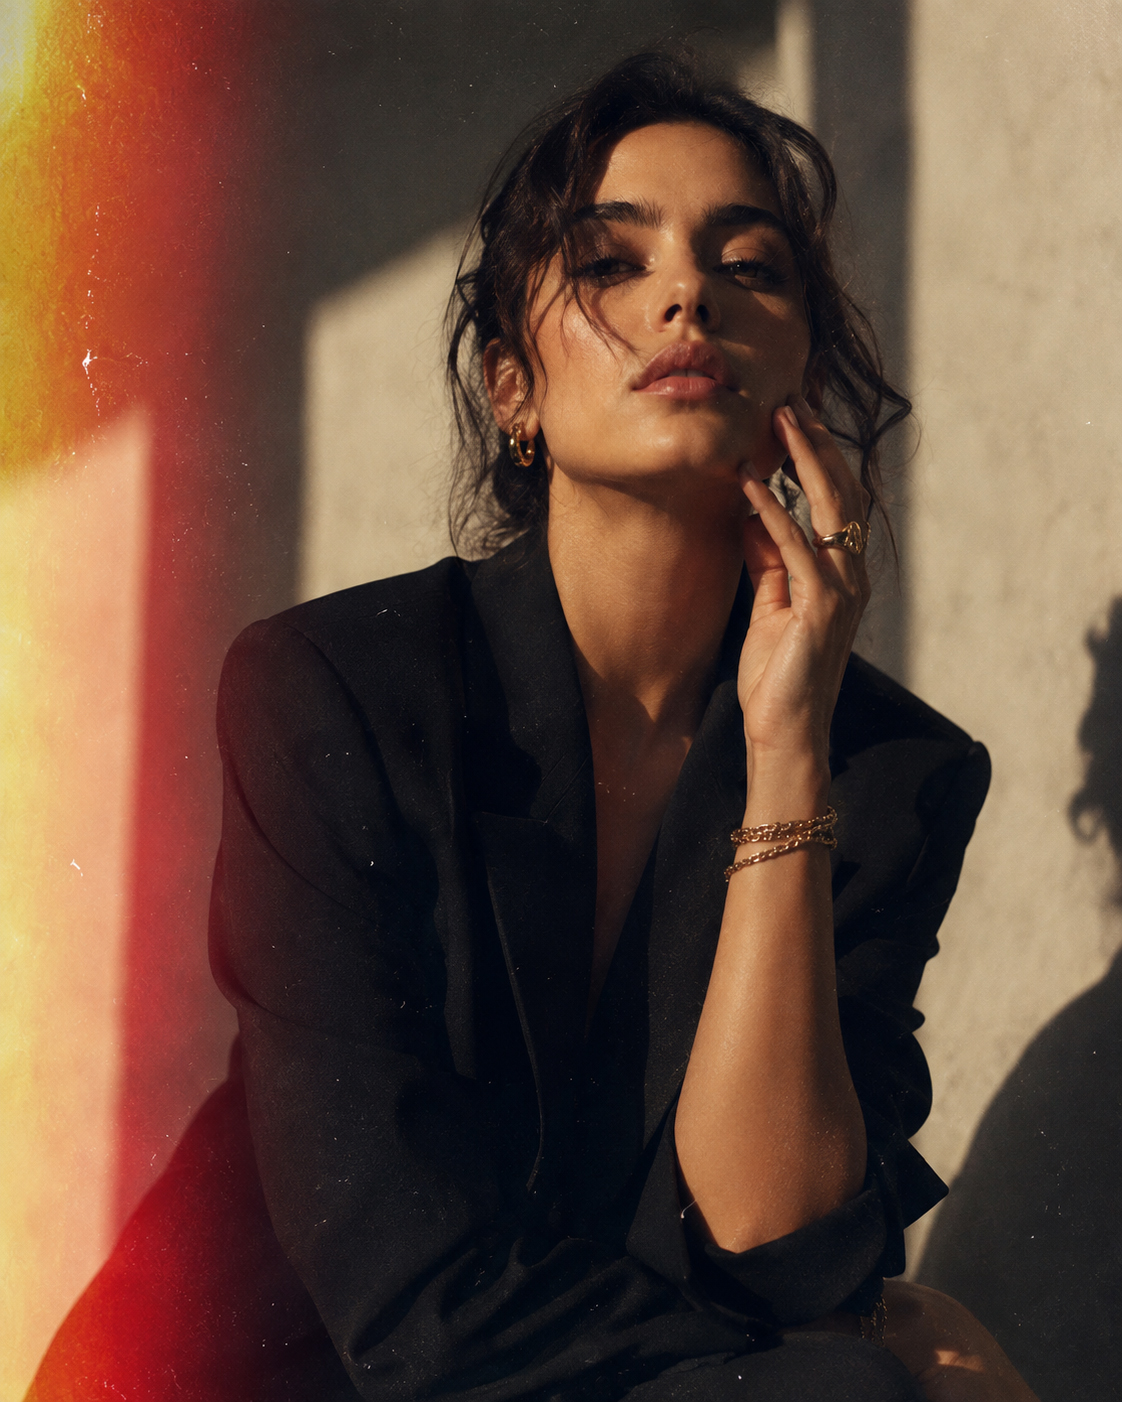
Photoshop’s layering system makes it easy to add texture, grain, or creative overlays that give an image mood or a distinct visual identity — something that’s much harder to pull off in Lightroom.
Background Removal

A cluttered or mismatched background can pull attention away from the clothing or model. Photoshop’s selection tools make it possible to cleanly remove and replace a background, which is especially useful for catalog and e-commerce fashion images.
Where Lightroom Shines in Fashion Editing
Batch Processing
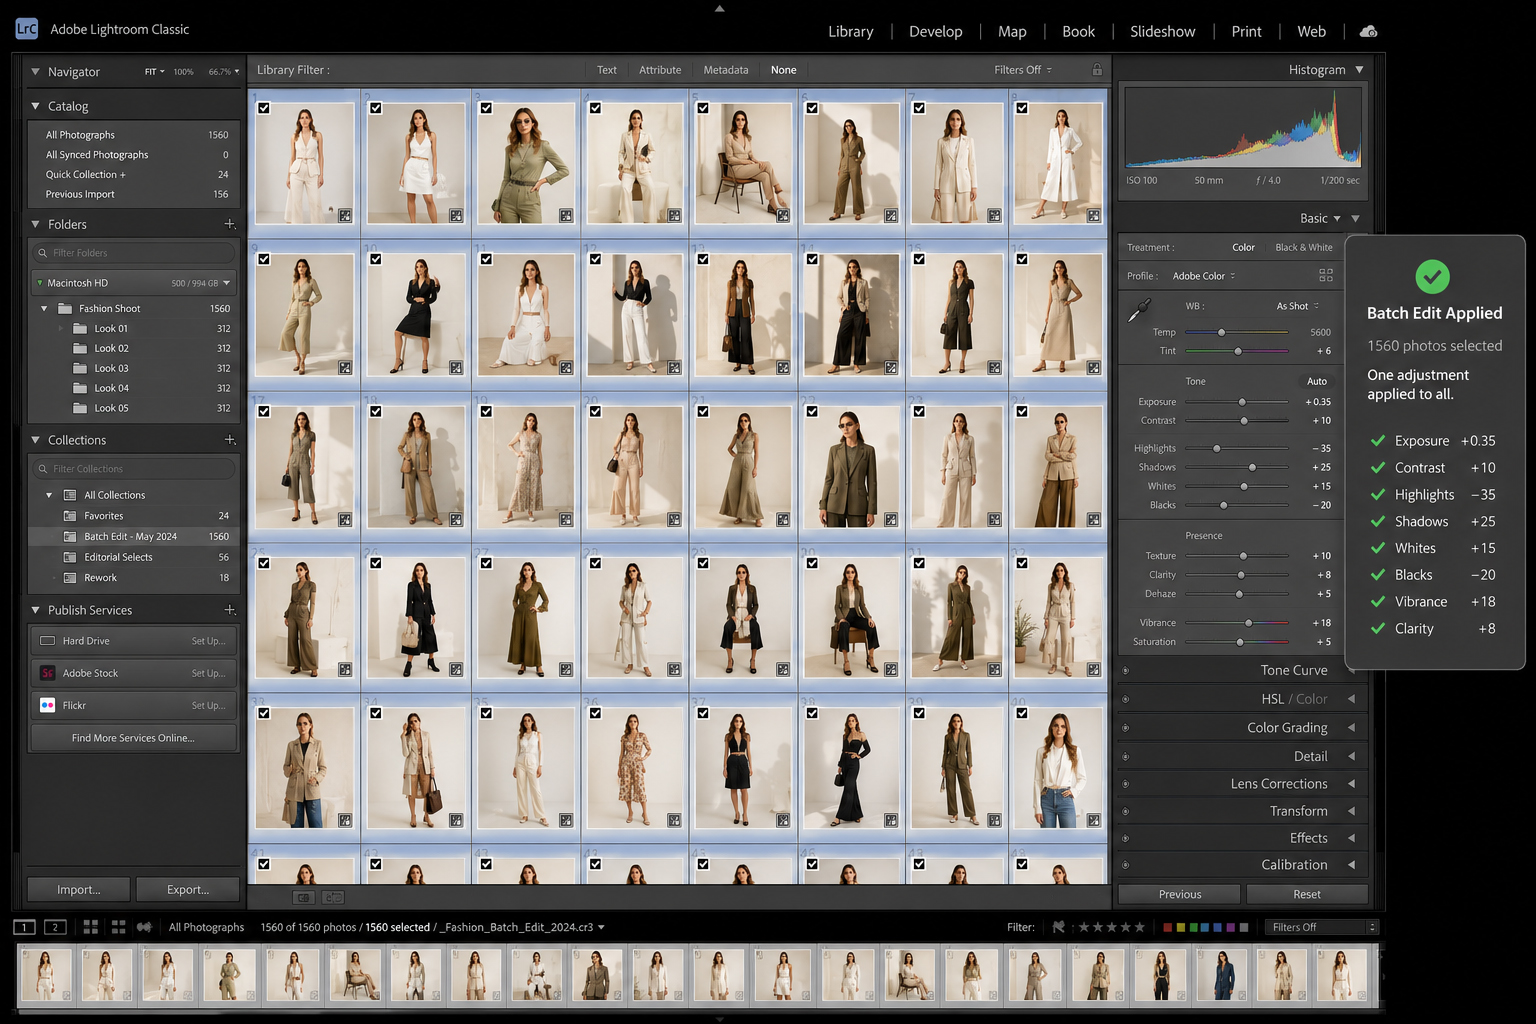
When you’re working through hundreds of shots from a single session, editing each one individually isn’t realistic. Lightroom lets you apply the same set of adjustments across an entire batch in seconds.
Presets
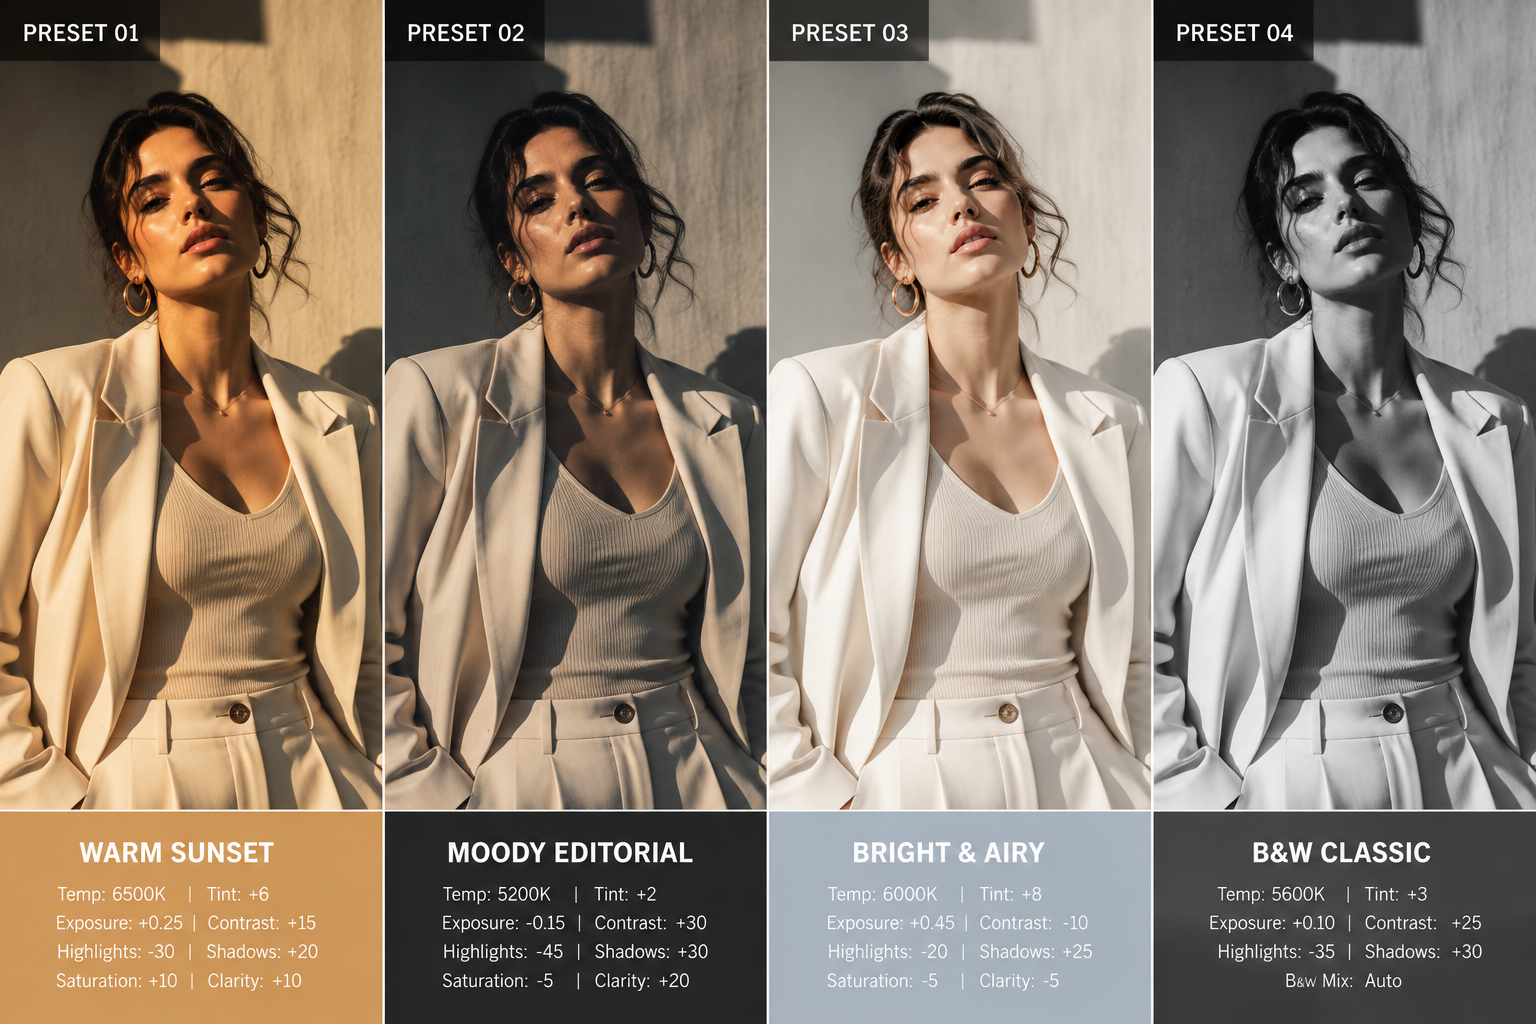
Presets are saved adjustment recipes you can apply with one click to instantly give a photo a consistent look. Lightroom has a huge library of them, including many built specifically for fashion and portrait work.
Color Grading
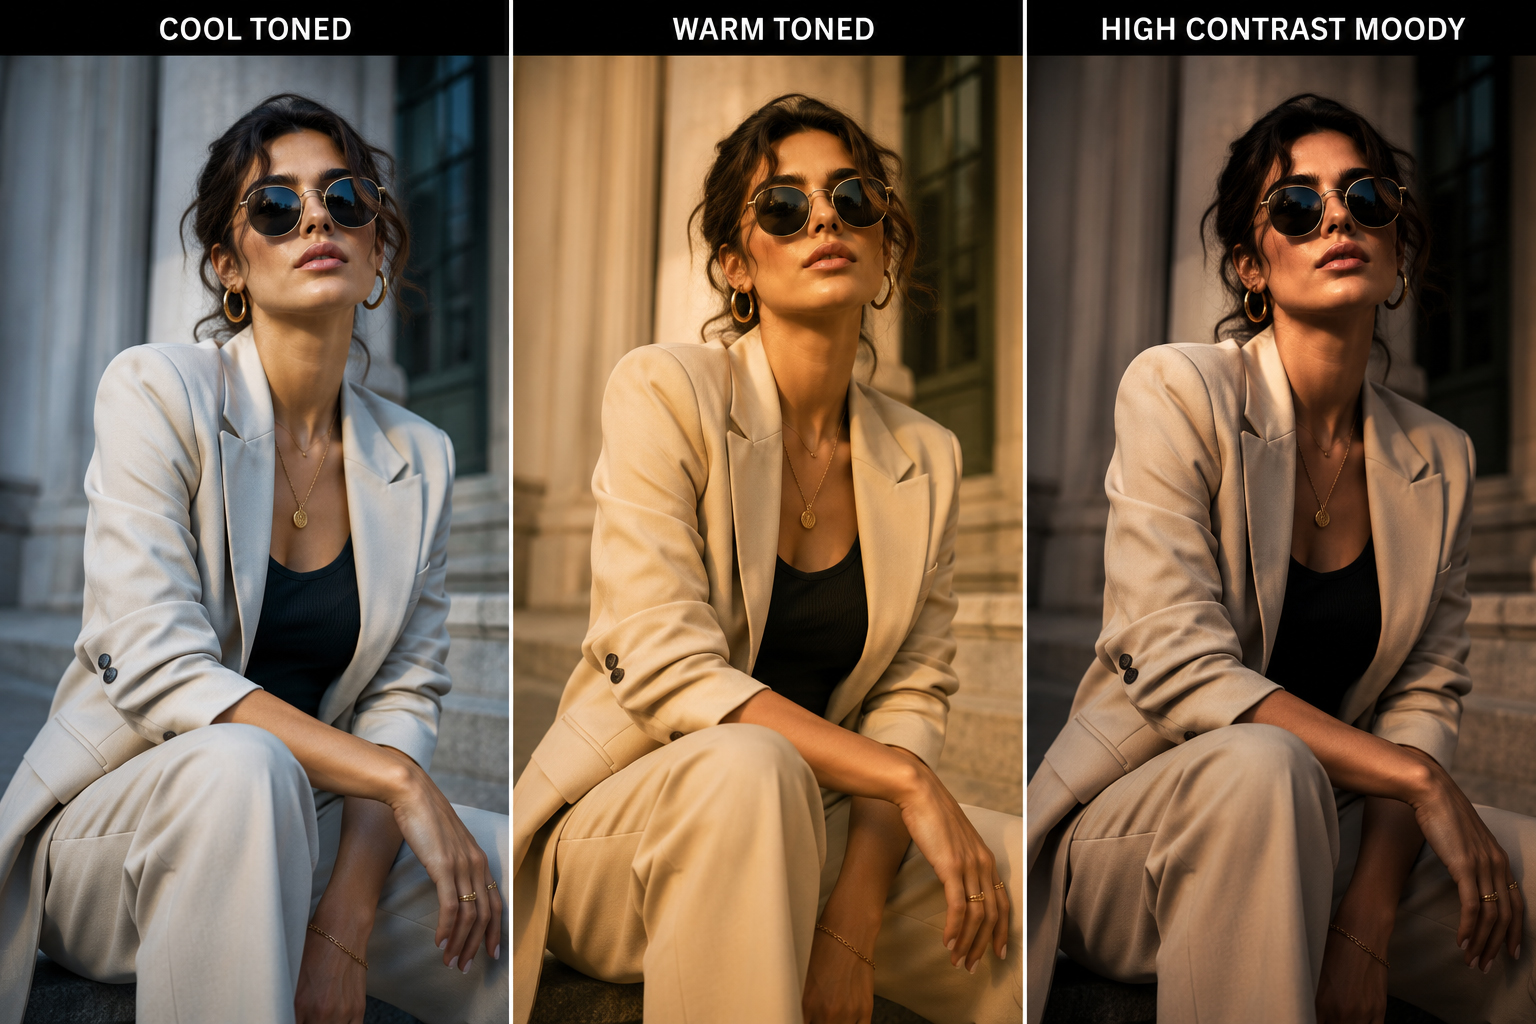
Beyond basic correction, Lightroom’s color grading tools let you shape the overall tone and mood of a set — pushing it warmer, cooler, moodier, or brighter to match a brand’s aesthetic.
Organization
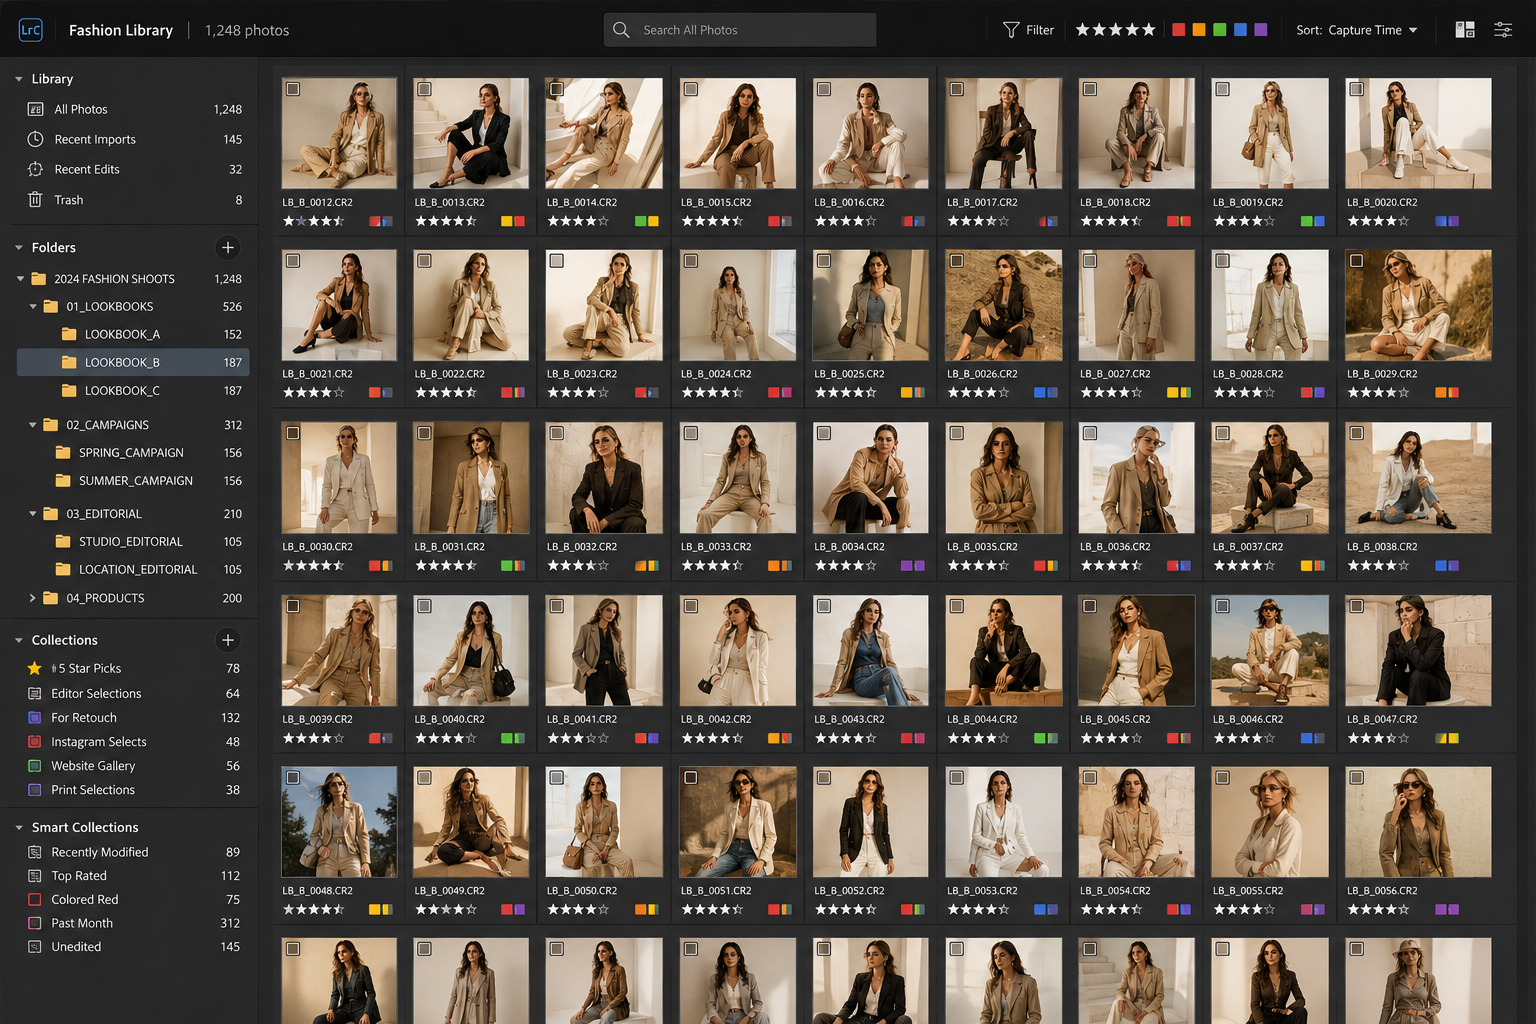
With keywords, ratings, flags, and collections, Lightroom keeps a growing photo library searchable and manageable, which matters as much as the editing itself once a shoot library grows into the thousands.
So, Which Should You Use?
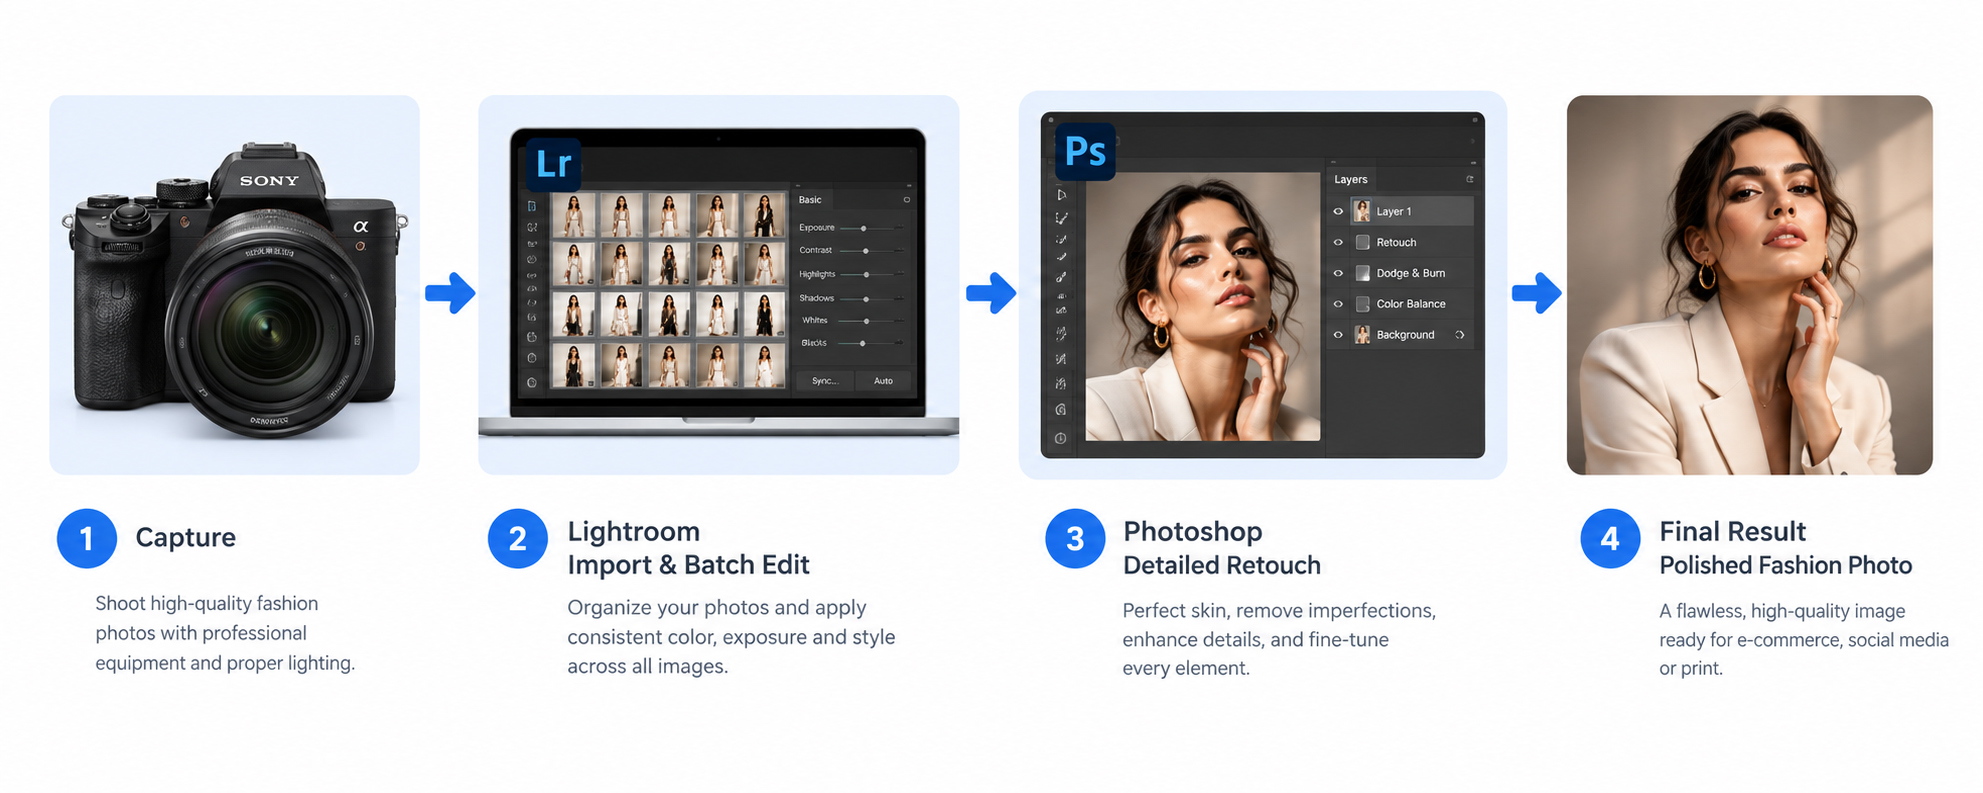
Most professional fashion workflows use both. A typical process looks like this: import and cull the shoot in Lightroom, apply batch color correction and a base preset, then send the standout images into Photoshop for detailed retouching, background work, and final polish before exporting.
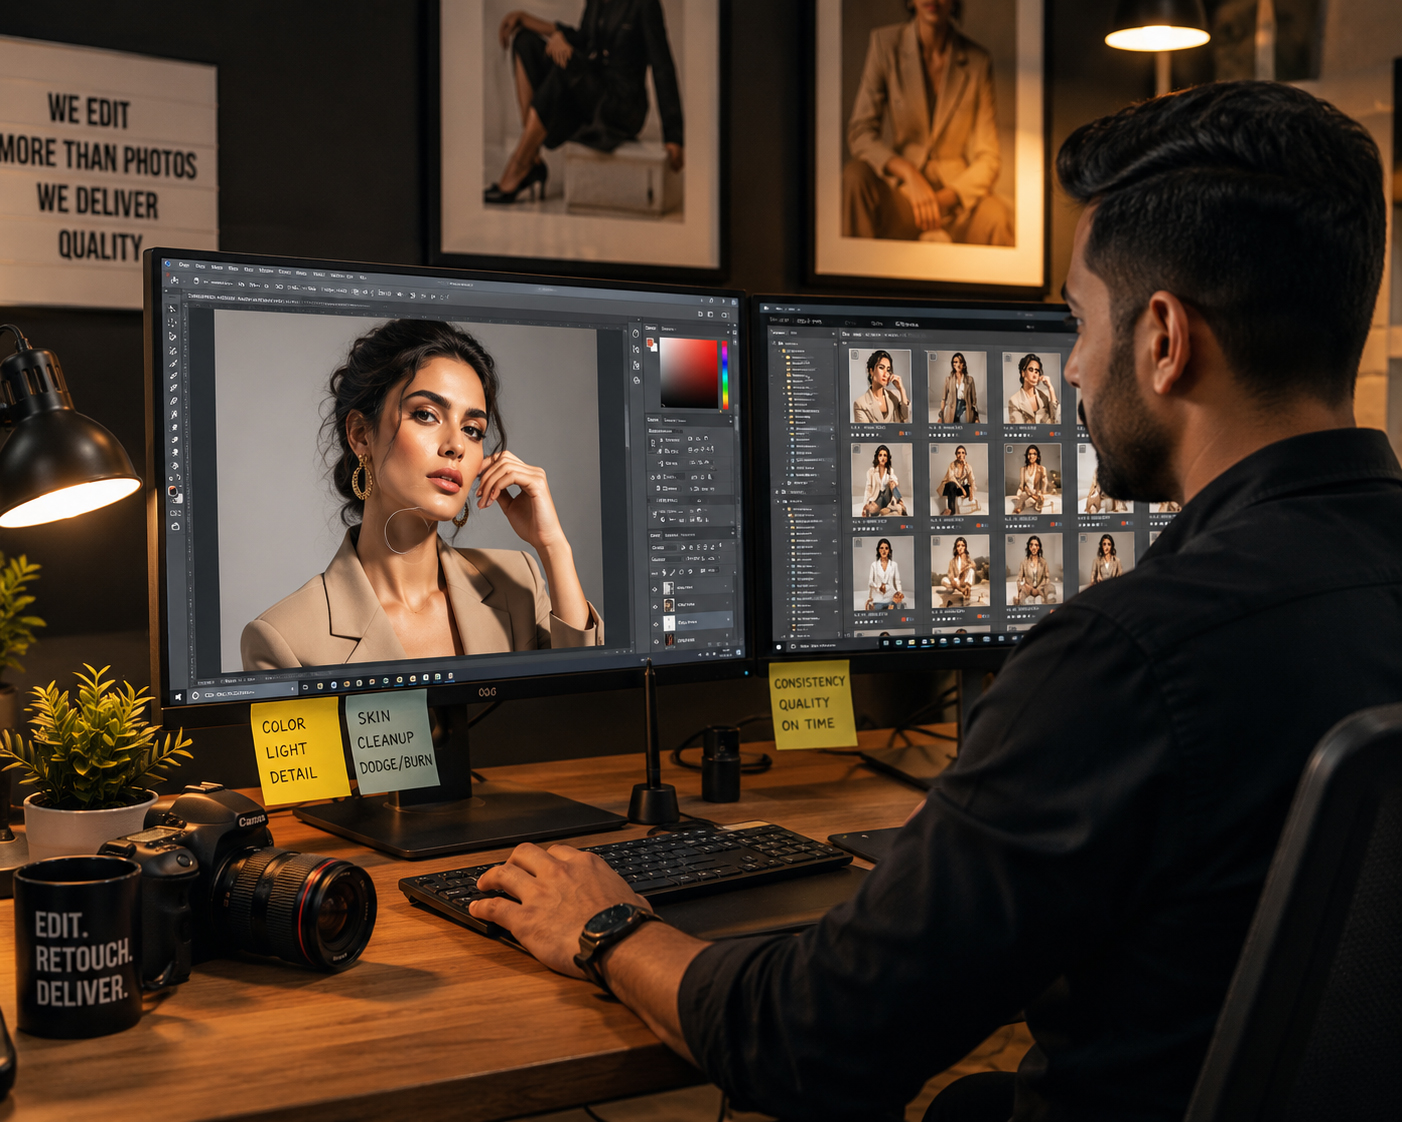
Need your fashion images retouched without the learning curve? Check our pricing plans or start with a free trial — send three sample images and get them back edited within an hour.