
In this present day, visual content marketing is very important. Because the internet is the central market for buyers and sellers to buy and sell different products.As like, images have become very important for publicity and marketing tools. By using a clipping path, you can easily create different views of the product image. You can set it in different colors to make the subject clearer. Your need also is removed such as dust, stray objects, smudges, etc to do this clipping paths are needed. For this reason, clipping path services are very important for photographers.
Clipping path service :
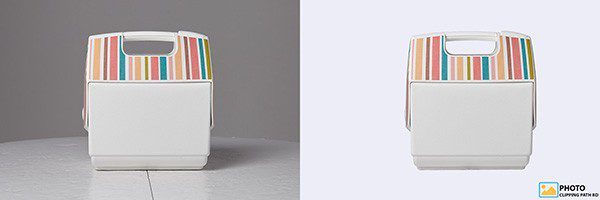
Clipping path is a service that makes an outline or selection of the main object of image to remove or cuts an unwanted background from an image and provides a suitable background that the image looks good and real.Therefore, the clipping path service can easily replace the background as desired.
How to Create a Clipping Path in Photoshop?
- Here are the steps on how to create a clipping path in photoshop.
- Step 1: Upload your Image after launching Adobe Photoshop
- Step 2: From the main toolbar, select the pen tool
- Step 3: Select a new path
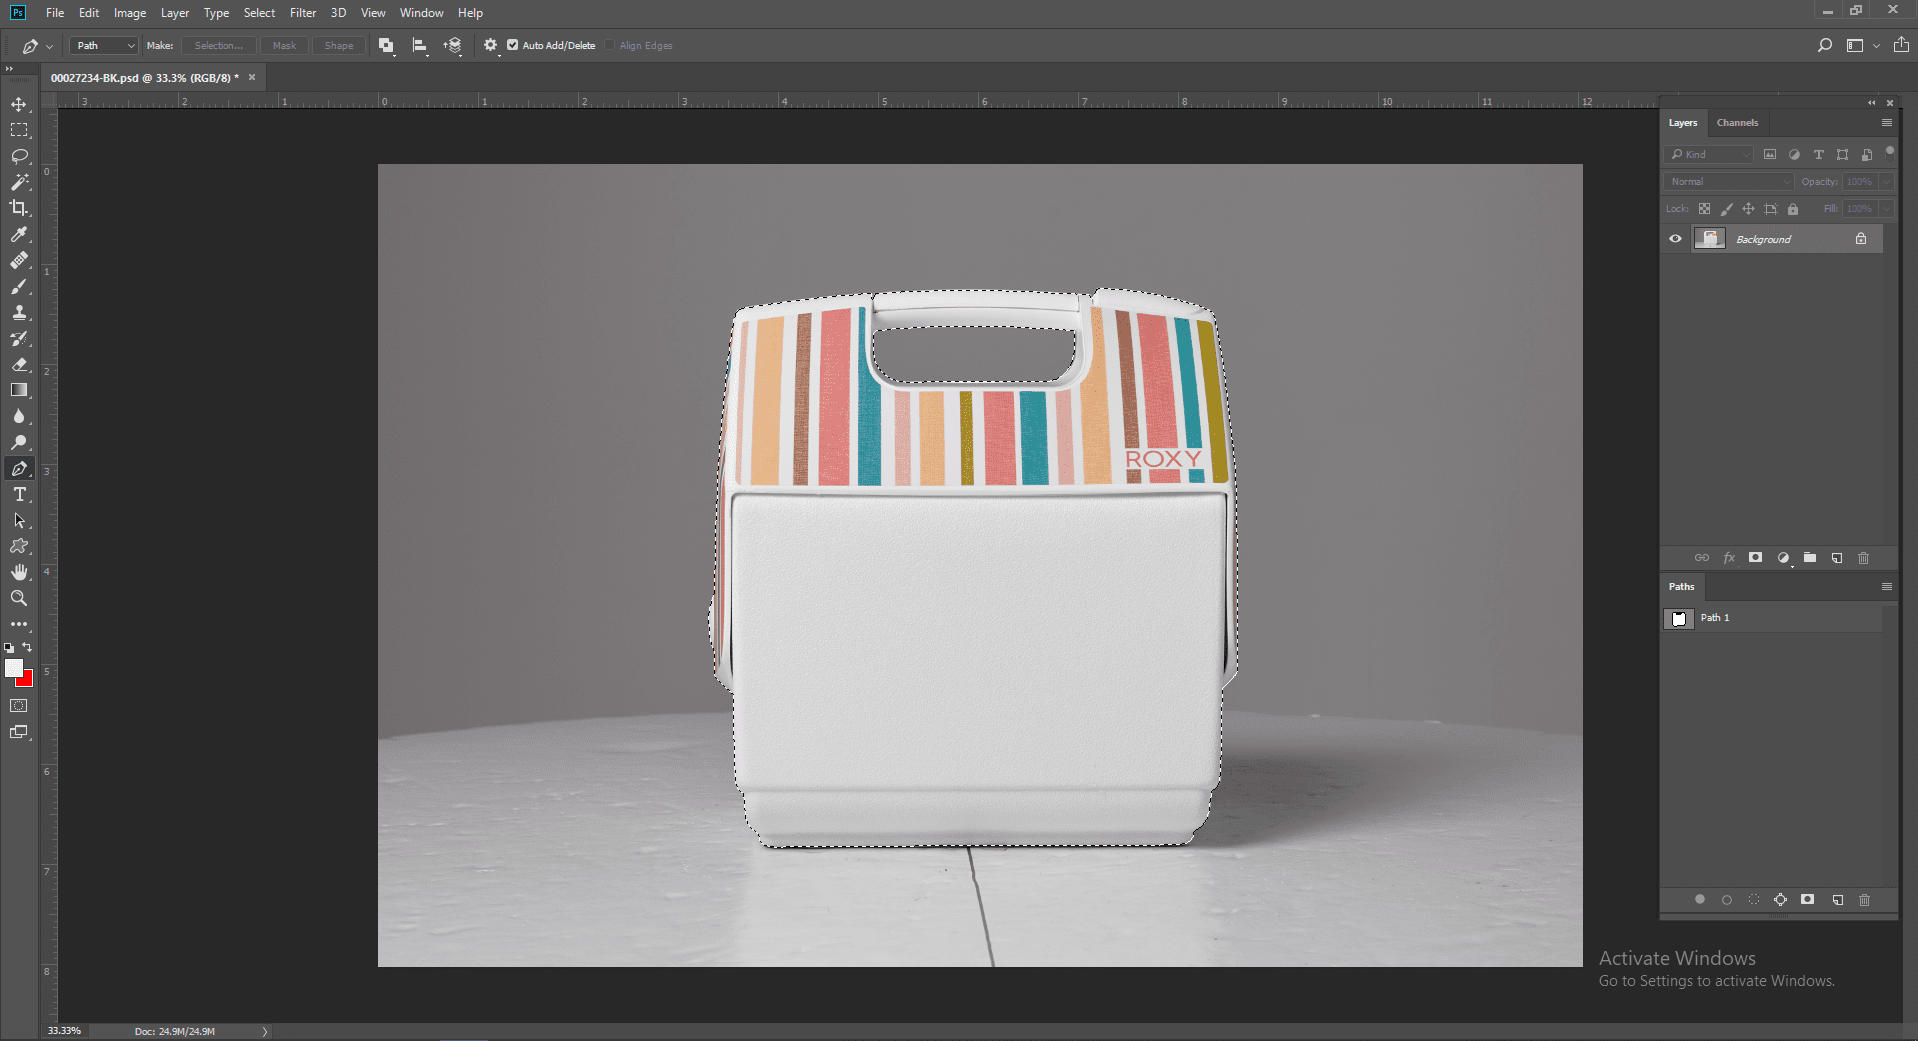
- Step 4: Start to draw the exact shape of the image that you have uploaded
- Step 5: Draw a clipping path around your product
- Step 6: Use ‘Ctrl + Enter’ for selection
- Step 7: Use ‘Select > Modify > Feather’ or ‘Shift+F6’ for smoothness
- Step 8: Make a copy of the background layer and mask the copy layer. Select a solid color layer in the medial position.
- Step 9: Done! You have successfully created a clipping path for your image. Please note that you can use any color of your choice as your requirement.
Here are the steps on how to create a clipping path in photoshop.
Step 1: Upload your Image after launching Adobe Photoshop
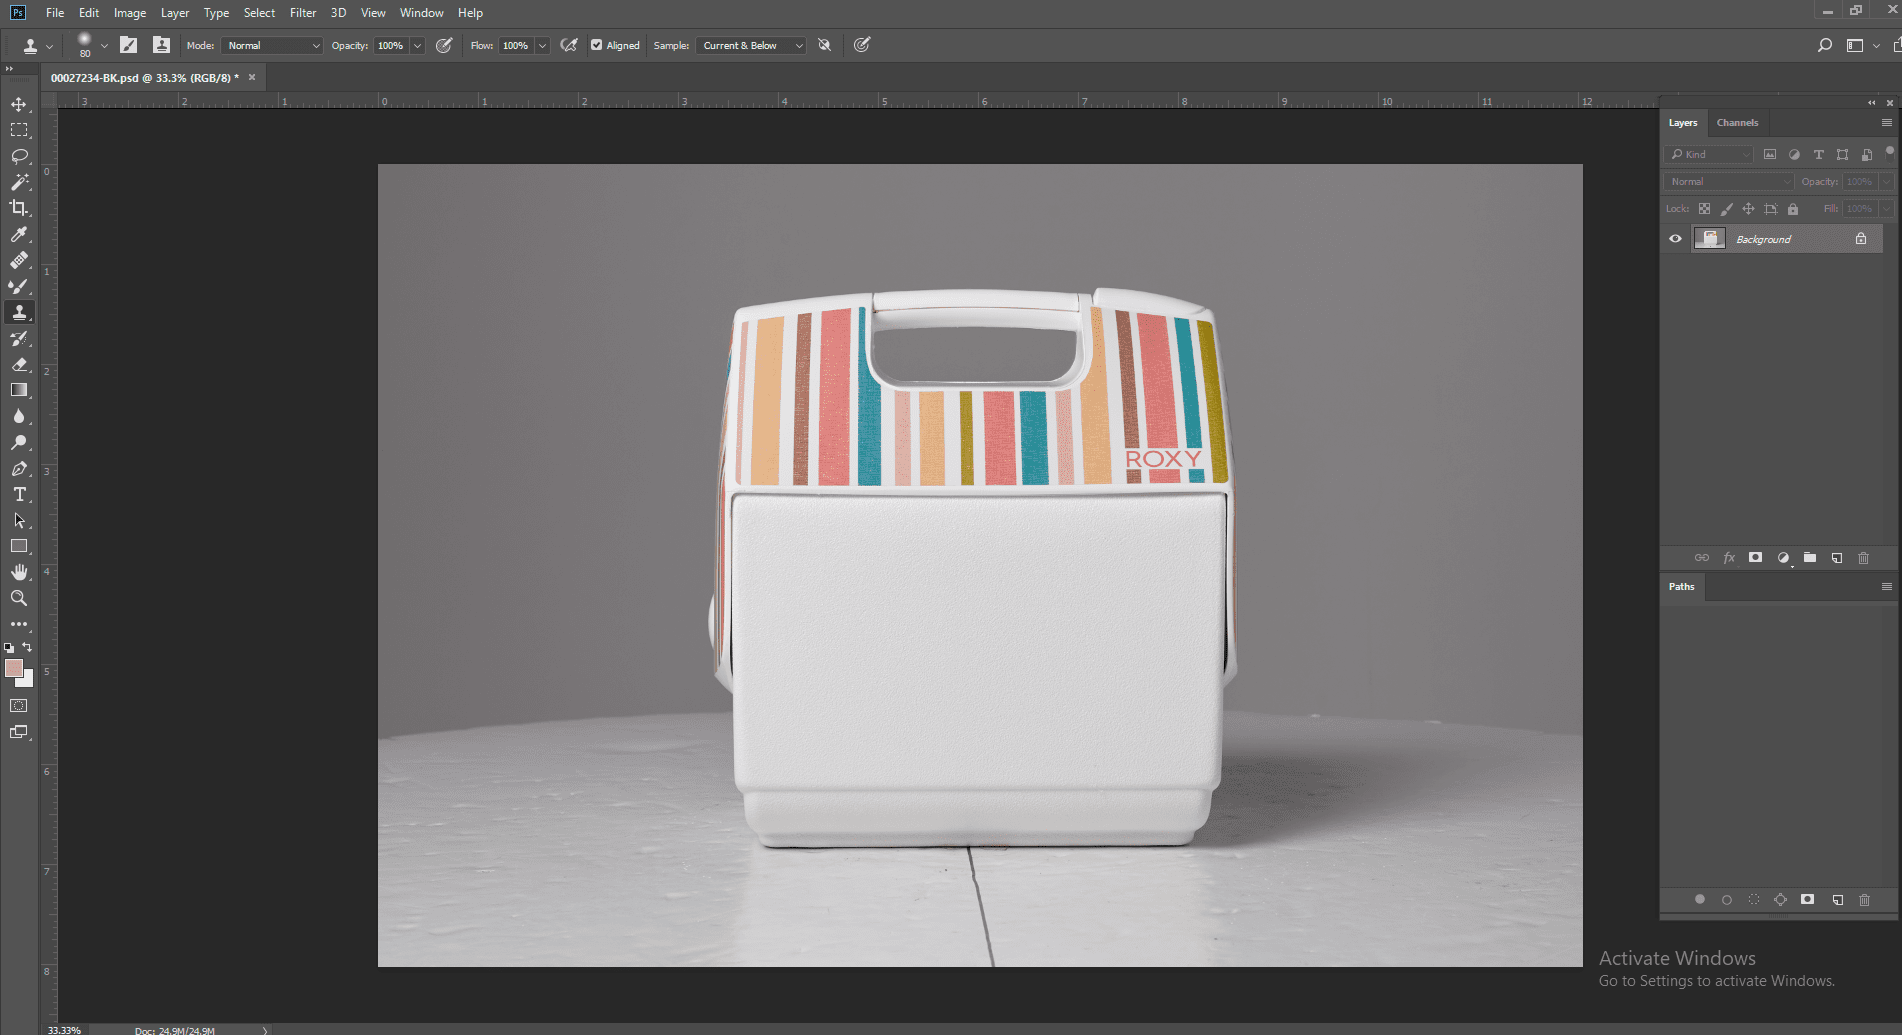
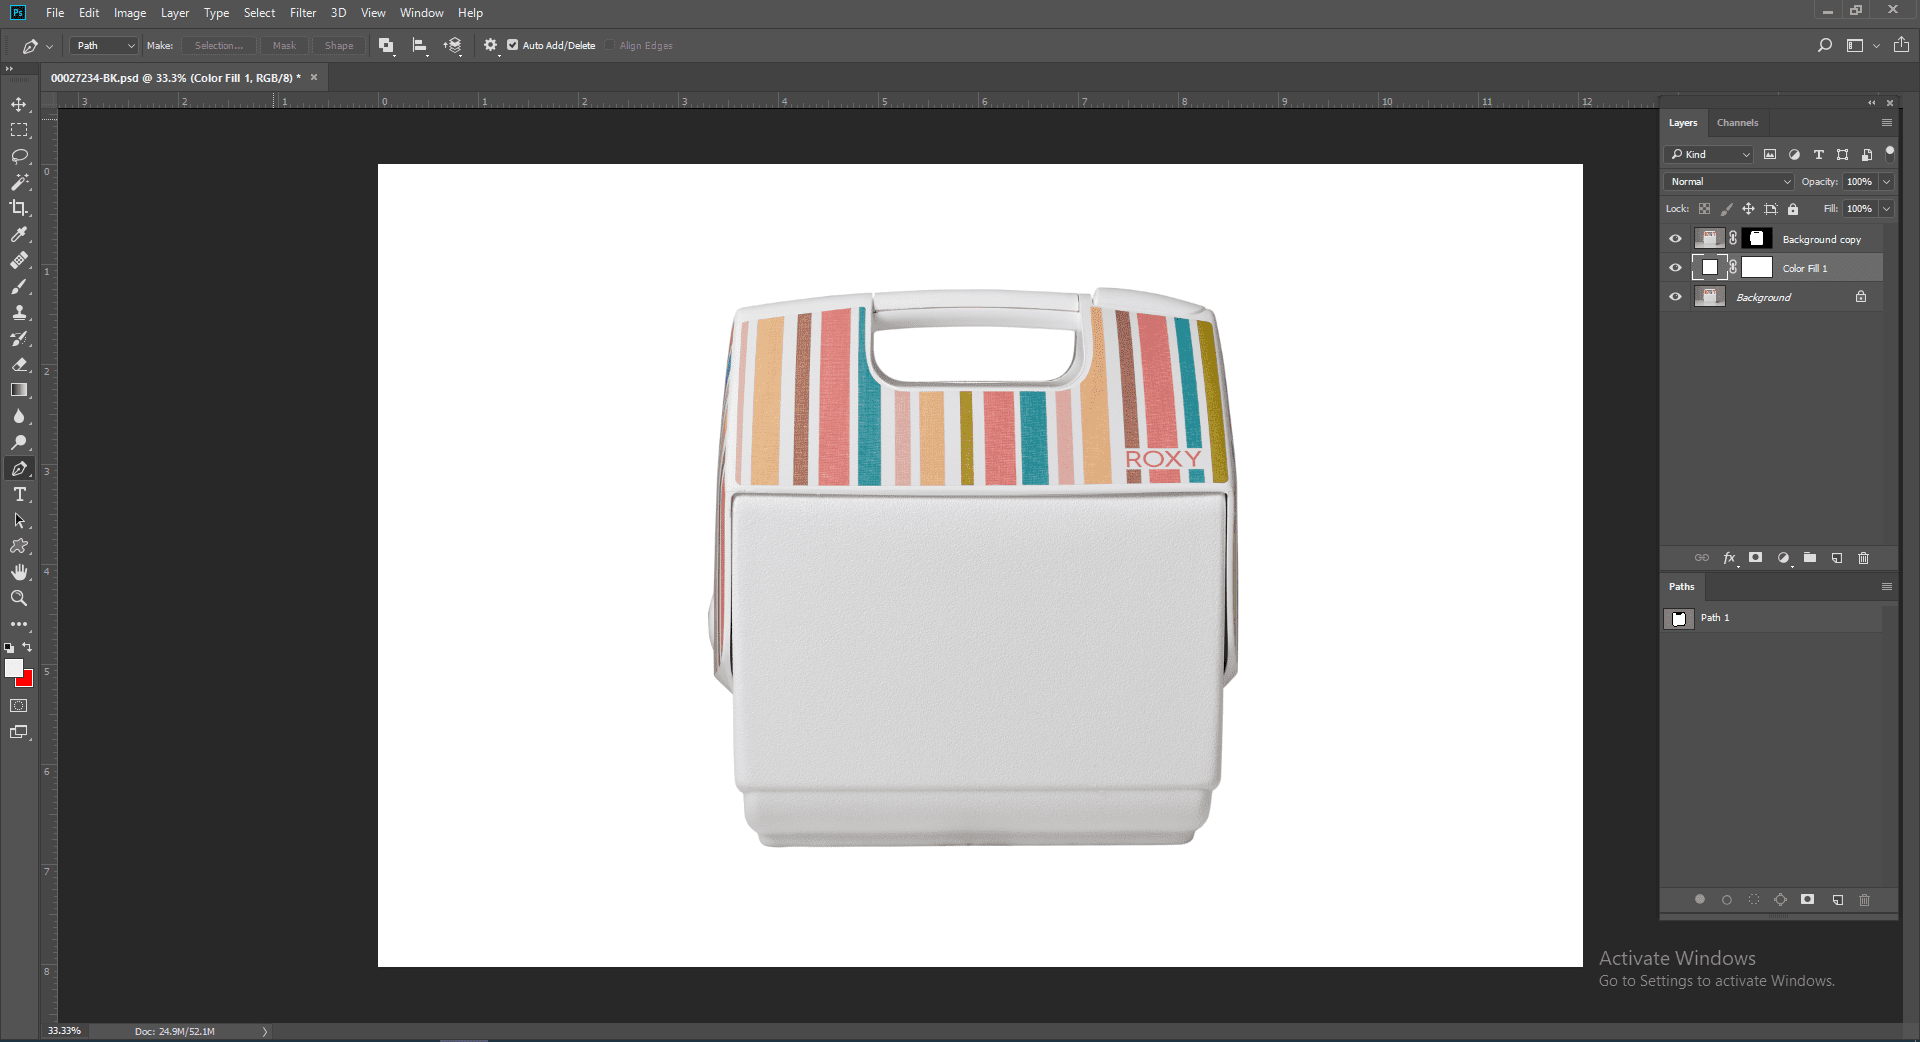
After you successfully open photoshop, go to File > Open. Browse through your photos and upload the image that you want to edit.
Step 2: From the main toolbar, select the pen tool

Go to the main toolbar, on the left as shown in the image below, and select the pen tool. To bring accurate results from a pen tool, a good amount of practice is required.
Step 3: Select a new path
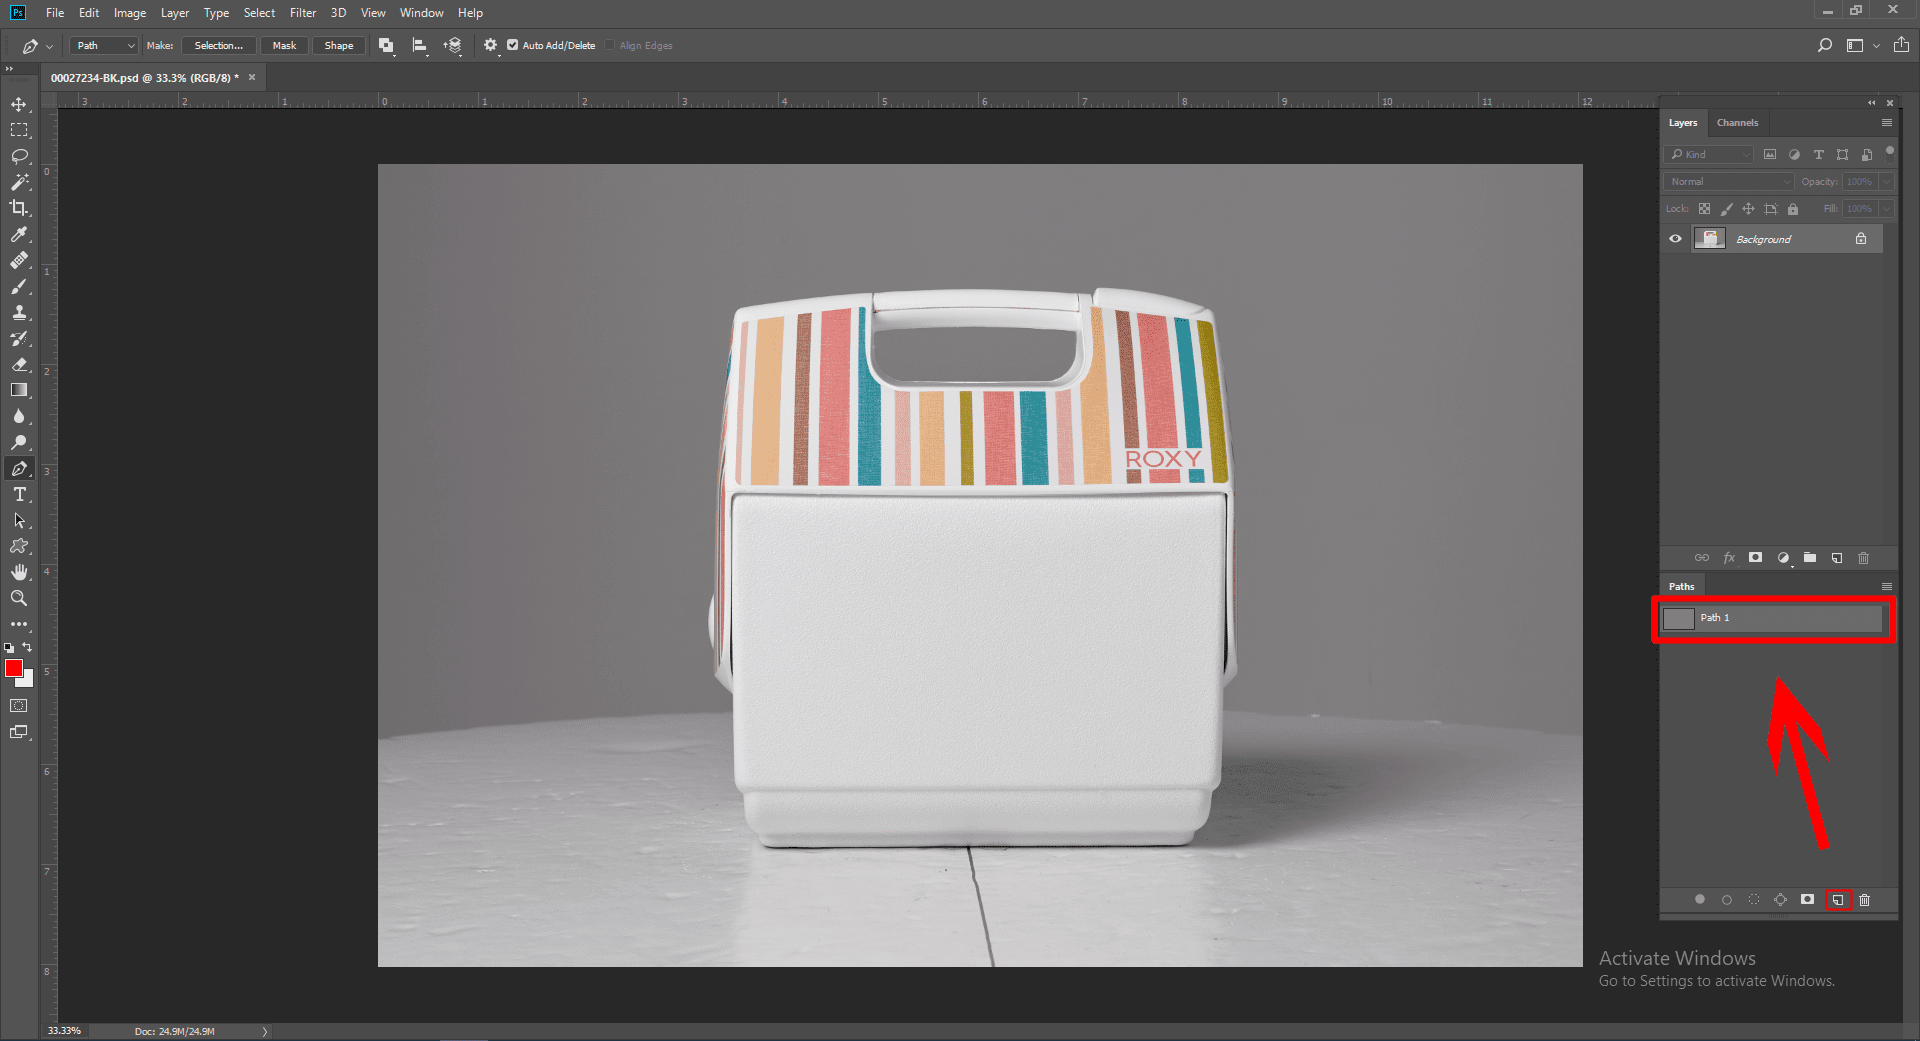
For creating clipping of the image, select a new path as shown in the image below.
If you cannot find the path option automatically, you can go to windows from the above menu and select the path.
Step 4: Start to draw the exact shape of the image that you have uploaded

Step 5: Draw a clipping path around your product

Make sure that the path is done accurately and spend on the shape of the object time taken to draw a clipping path might vary.
Step 6: Use ‘Ctrl + Enter’ for selection
For selecting the clipping path that you have created using the shortcut ‘Ctrl + Enter’
Step 7: Make a copy of the background layer and mask the copy layer. Select a solid color layer in the medial position.
Importance of clipping path service :
You can easily display your images in a different background using the Clipping Path service. And it can help especially with white background which will help you to focus your photos online. You can also use the clipping path to transparent backgrounds, background removal, image masking, photo cut outs, color correction, ghost mannequins and other photo / image editing services.
How to Choose the Best Clipping Path Service Provider :
To get a best Clipping Path Service Provider ,you have to check them about this :
- Firstly, observe the good communication system .
- Friendly Budget and Friendly Time .
- Capable of providing 100% quality .
- Having a patient to provide unlimited revision or ready to provide service until the client will be satisfied .
Try Photo Clipping Path BD Free

Cassandra
May 3, 2022Nice post. I used to be checking continuously this blog and I am inspired!
Very helpful information specifically the remaining phase 🙂 I deal with such info a lot.
I was looking for this particular information for a long time.
Thank you and good luck.
Check out my web site; Cheapest Digital Books
admin
May 11, 2022Thanks for your comment,stay with us .
Josephine
July 13, 2022Hi Dear, are you in fact visiting this web page on a regular basis, if
so then you will definitely get good know-how.
Take a look at my webpage :: buy instagram likes $5
Toslim Ahamed
August 10, 2022Thanks for your comment, stay with us.