
Jewelry photography is not easy. In fact, it’s one of the hardest kinds of product photography you can do. Your subject has so many different parts, small details, and shiny elements that everyone but a trained jewelry photographer will likely struggle. This article teaches how to take stunning photographs of jewelry products from a professional photographer. My secret tips and tricks will help you shoot better photos in less time!
Step 1:
Shooting a photo of jewelry is always challenging. You need to pay attention to every detail. I consider jewelry photography one of the most difficult types of product photography.
Step 2:
To make the task easier, we’ve put together a collection of recommendations and best practices for jewelry photography.
Step 3:
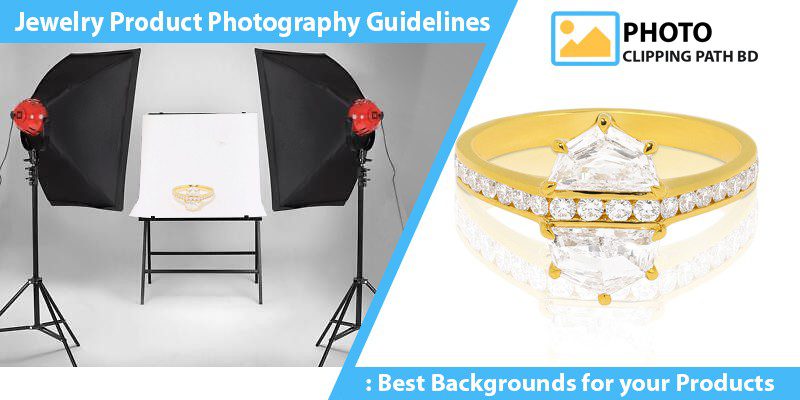
Best backgrounds for jewelry product photography :
Mannequin bust:
Mannequin busts are essentially miniature mannequins used for displaying and photographing jewelry product pieces and accessories. A mannequin bust is flexible because there are a variety of options to choose from, including shape, size, color, material, and more. And because they’re so popular and versatile, you can find budget-friendly options out there.
Plain white backgrounds:
While a plain white backdrop is one of the most popular options for a jewelry product background, there are many other benefits as well. By choosing a plain backdrop over an alternative such as a solid-colored wall or fabric, you’re getting increased visibility and focus on the product itself. You can create better lighting by using something like a couple of sheets of foam board to make your own “studio” – this can also set your product apart from others that have images against busy backgrounds such as brick walls.
Black backgrounds:
A black background creates a dramatic look and feel. It’s ideal for colorful gemstones, white and silver jewelry, and luxury products in particular. The black takes away some of the lightings but it creates a dramatic contrast you can play with in Photoshop and post-processing. Black backgrounds make your jewelry look elegant, sophisticated, bright, and colorful when executed properly.
Gradient backgrounds with dimensions:
If you’re looking to add more depth and interest to your images, a great way to do that is to use gradient backgrounds. Gradient backgrounds give your images just the right amount of contrast against a solid color background. It can add appeal or emphasis to a product without actually removing the focus from the product itself. That said, let’s explore how gradient backgrounds actually work.
Textured backdrops:
Textured backgrounds give dimension and depth to your product photos while maintaining the focus on the fine details of your jewelry products. Handmade jewelry product in particular works well on a textured background, giving it an earthy, homemade feel. But texture can have lots of different effects, depending on how you use it.
Step 4:
Backgrounds are a great way to improve your product photos and make them stand out on your website. In some cases, they can even help you sell your products more effectively!
Step 5:
When it comes to photographing jewelry, the right background can make all the difference in the quality of your images.
Keep reading this article if you want to learn how to take stunning photographs of jewelry products from a professional photographer.
Photographing jewelry products is a challenging task that not everyone can accomplish. This is why it’s important to have a good working knowledge of the right tools and techniques. If you have this, then you’ll be able to produce top-quality pictures like those in the examples above!
Along with the photo editing service, https://photoclippingpathbd.com offer the solution to correct these issues for you. Simply check the sample here and you make your decision to take our service. We offer a free trial for you. See you next time.

Mark
September 12, 2022Thanks for your blog, nice to read. Do not stop.
Toslim Ahamed
September 12, 2022Thanks for your comment