How to use layer masks in Photoshop? Layer masks are one of the most useful and underutilized features in Photoshop. But in today’s post, I will tell you how to use layer masks in Photoshop and how to get the most out of them. Let’s start with understanding what layer masks are. After that, we will see what you can do with them and where they can be used. Plus, I will show you how you can create masking selections using layer masks instead of drawing them by hand and spending hours on this process!
What is a Layer Mask?
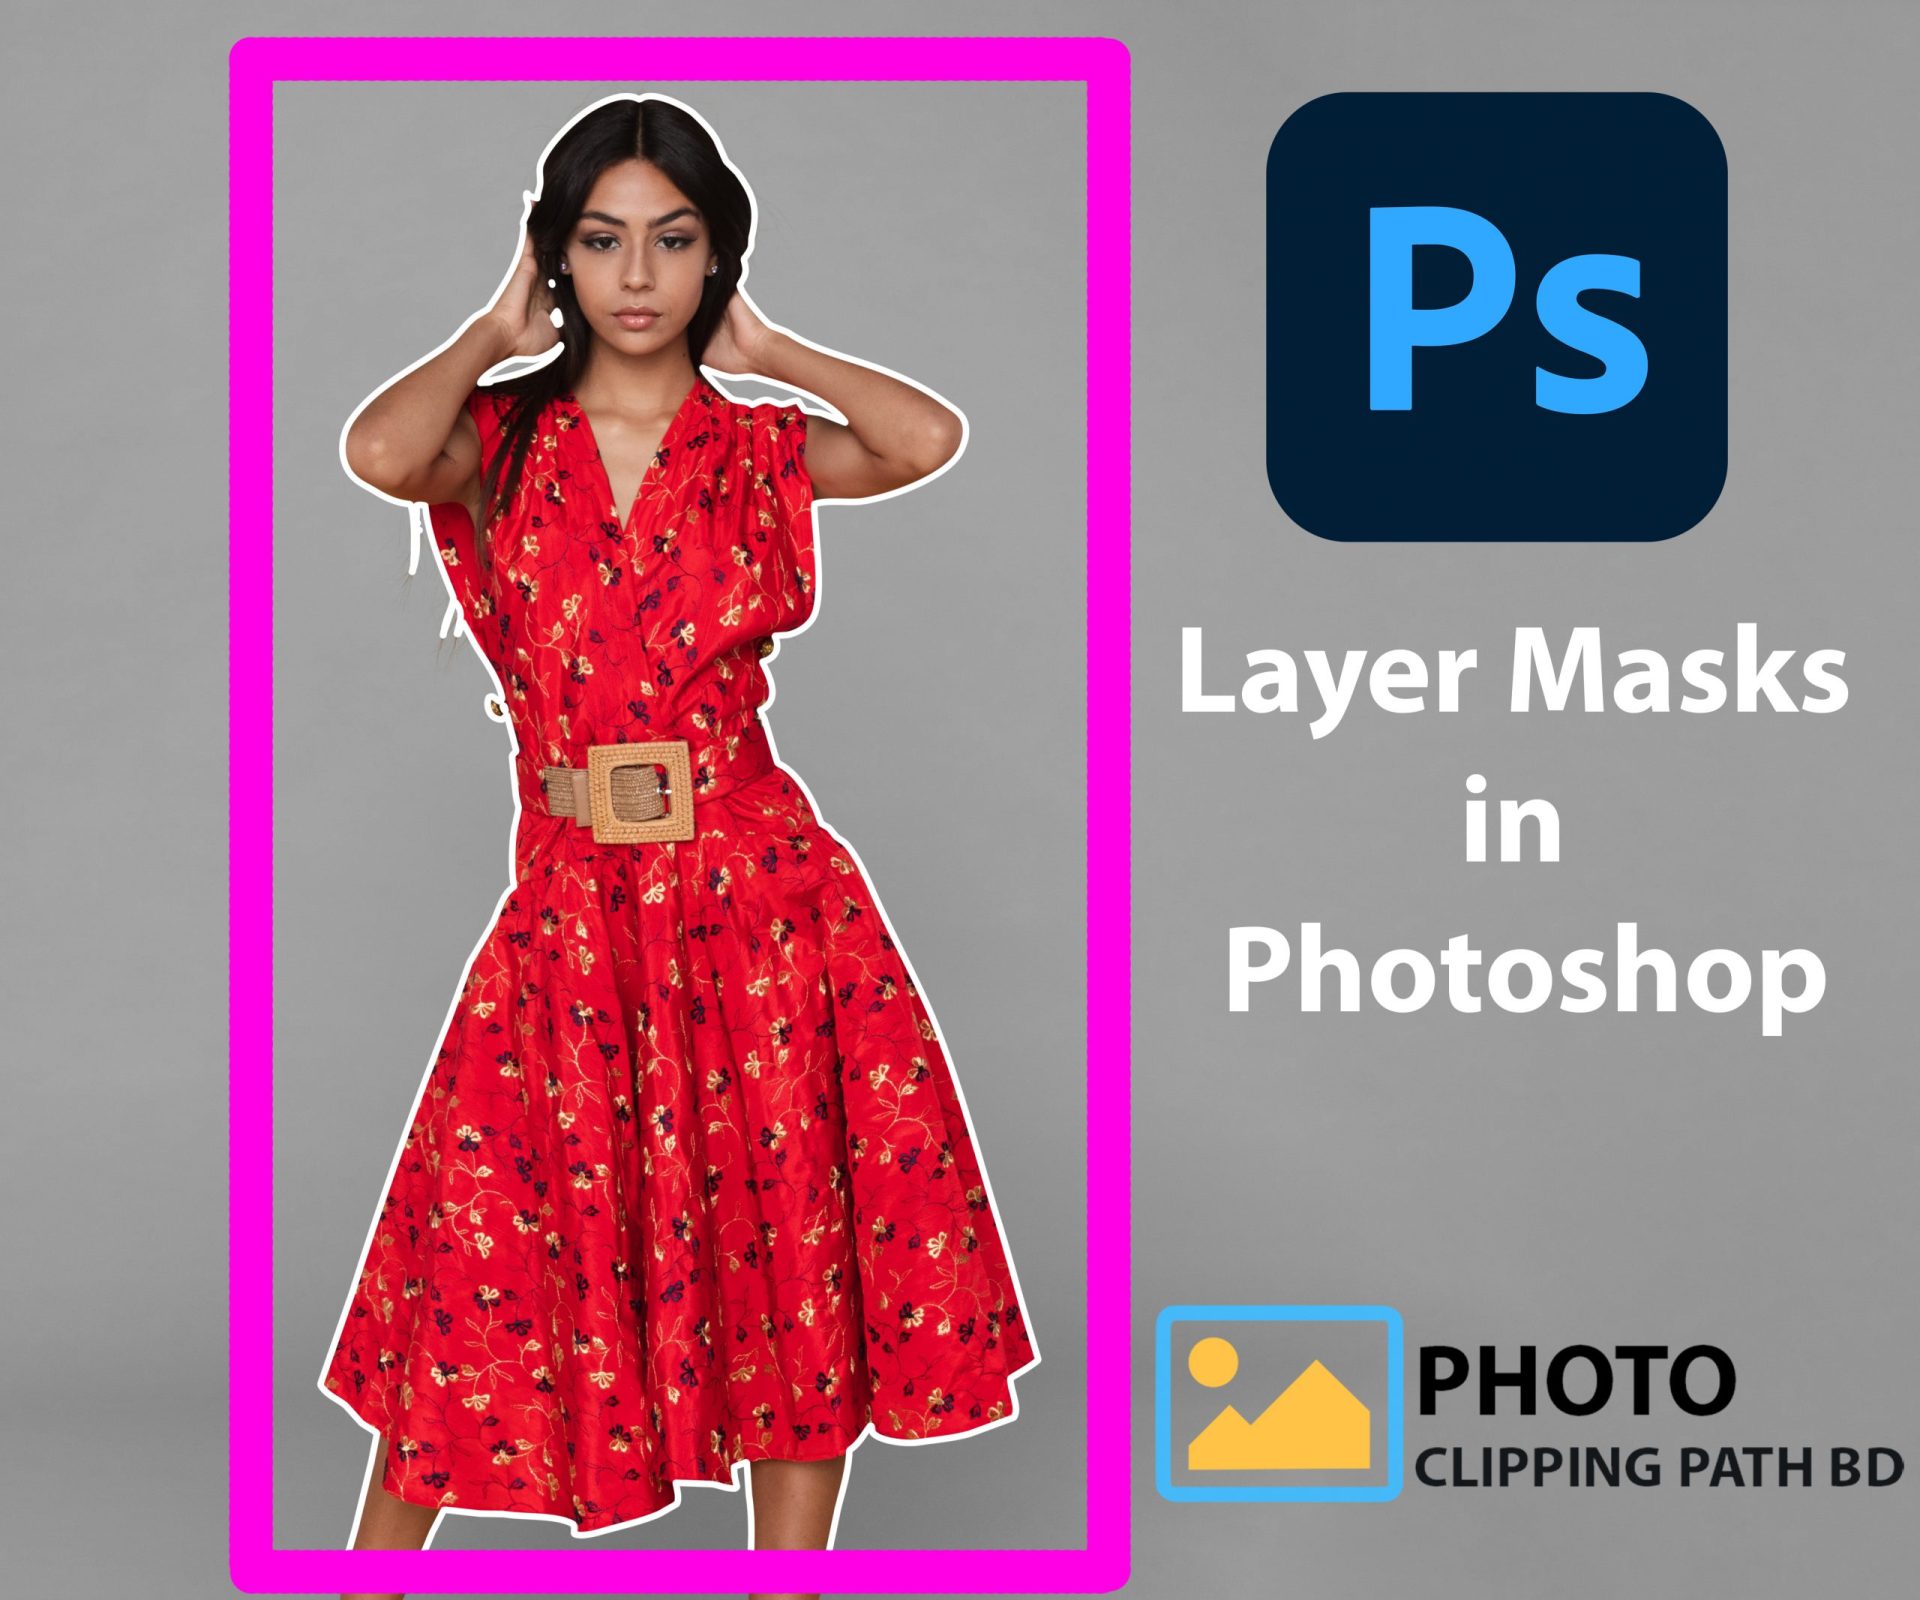
To get started, let’s go over exactly what a layer mask is. Think of a layer mask as a stencil that you can use to paint or reveal parts of your image. Photoshop uses masks to protect areas of an image, revealing only parts that were not previously visible. A great example of where you might use a layer mask is when you need to remove your background from an image. By utilizing these techniques, you can achieve some amazing results!
What Does a Layer Mask Do?
The key idea behind layer masks is that you can use them to block out or reveal parts of an image. It’s very similar to an image mask you might use for a printmaking class. However, you don’t need expensive tools to do it; all you need is Photoshop and some careful selection skills! Whether your subject is human or animal, there are many ways to create a realistic composite in Photoshop.
How Do You Add a Layer Mask?
To add a layer mask, click on Layer Mask at the bottom of your Photoshop tool panel. Alternatively, you can use Ctrl+Shift+M (Win) or Command+Shift+M (Mac). A white box with a cross-hatch pattern will appear. This indicates that there is now a layer mask attached to your layer.
How to Change Your Image with the Paint Brush Tool
Let’s look at two ways to use Photoshop layer masks for image masking. In your photo editor, add a new layer and set it to overlay, then select the paintbrush tool. Select black as your foreground color and paint over part of your image where you want to remove objects or people from your picture. Select white as your foreground color and paint over part of your image where you want to remove objects or people from your picture.
Background Removal with the Eraser Tool
Let’s face it: The Eraser Tool can be a little awkward to use, and Photoshop’s Background Removal tool isn’t much better. Fortunately, layer masks offer an intuitive way to remove backgrounds from images. Here’s how they work.
Try Photo Clipping Path BD Free
Related Articles:
A Complete Beginner’s Guide to Masking in Photoshop
Photoshop Layers and Layer Masking for Beginners