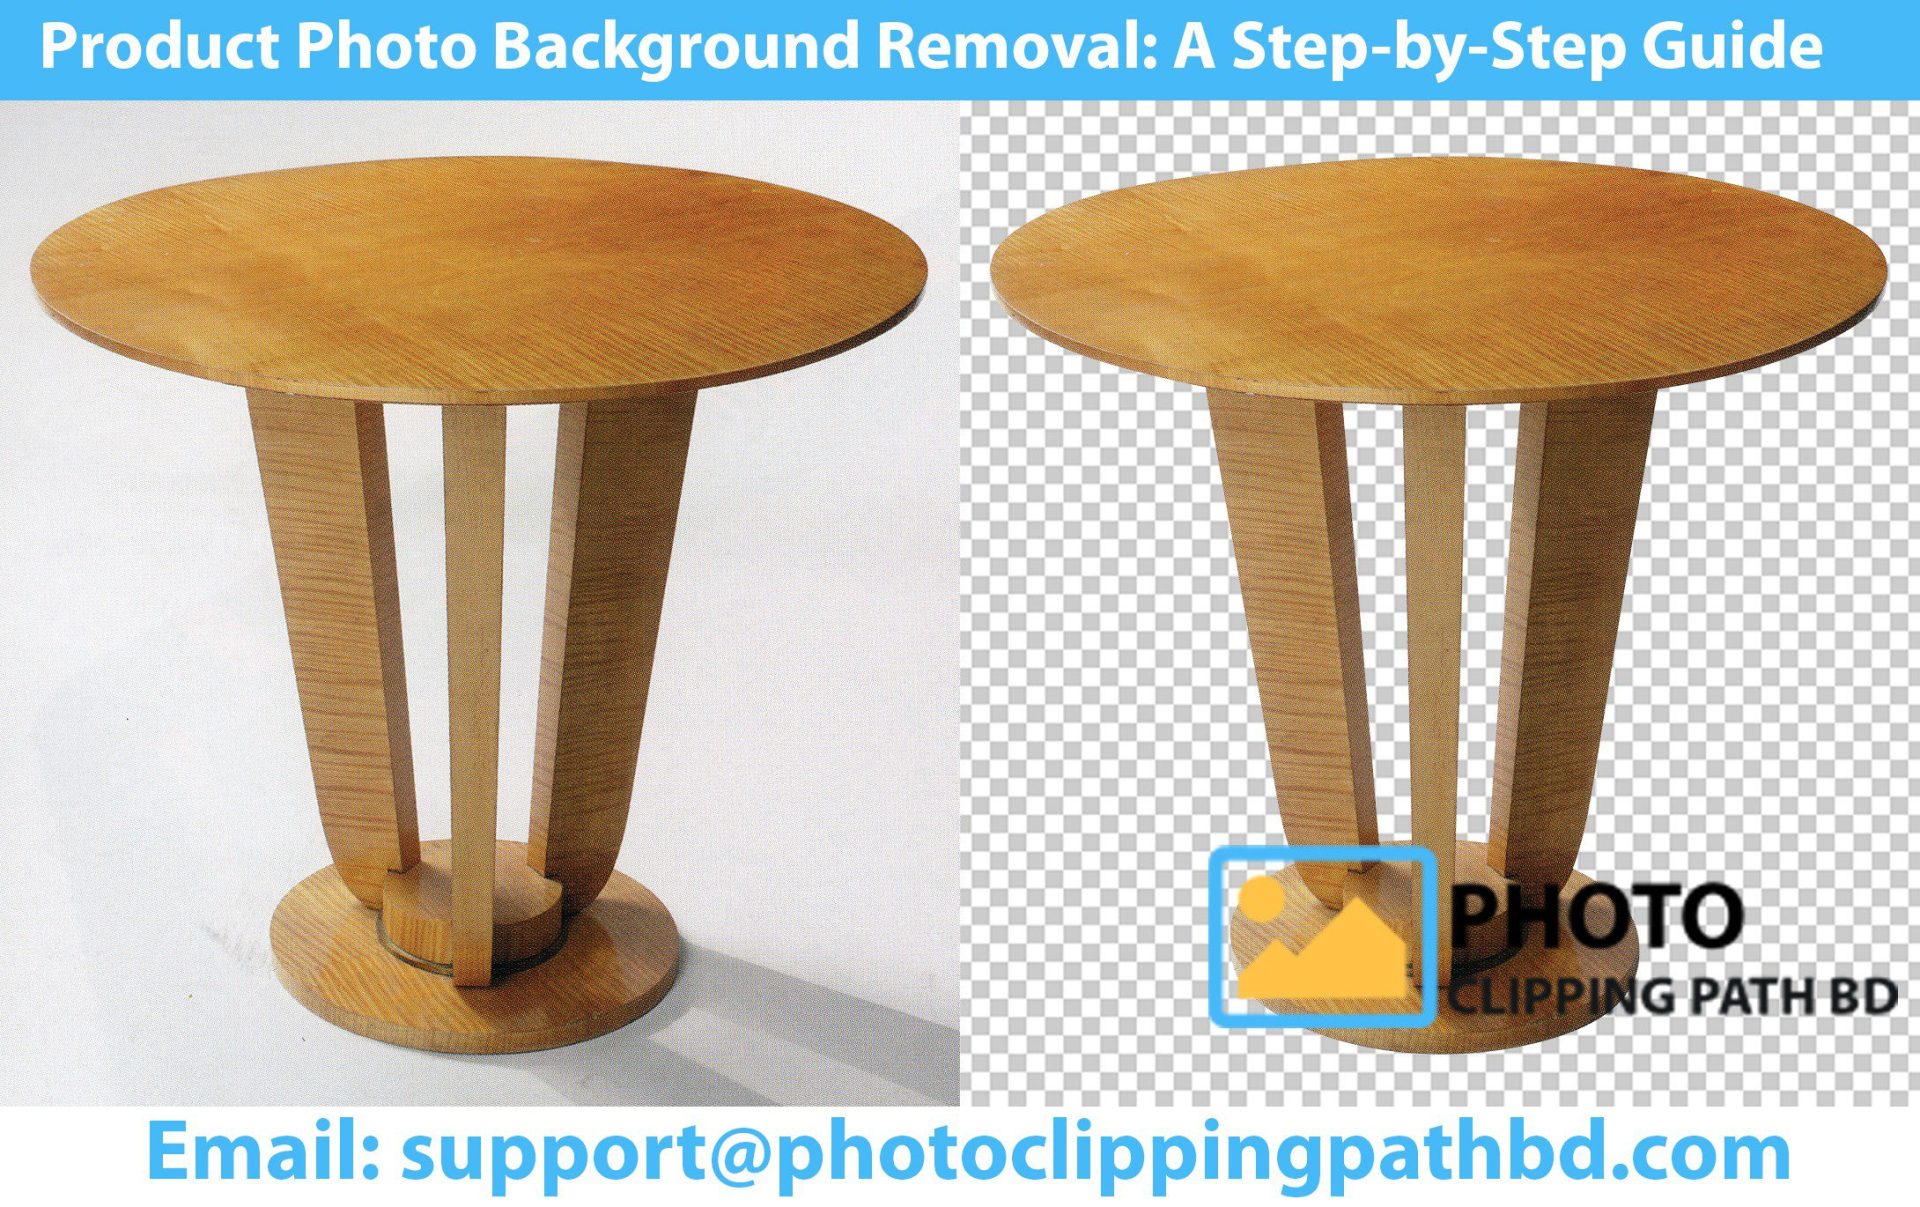
Background removal is a very common Photoshop task that takes quite a long to manually complete. In order to save a lot of time, this post will give you an insight into the common mistakes during the product photo background removal process, as well as reveal various methods and tools to speed up your workflow
Step 1. Open your image in Photoshop

Step 2. From the main toolbar, select the pen tool

Step 3. Create a new path Layer
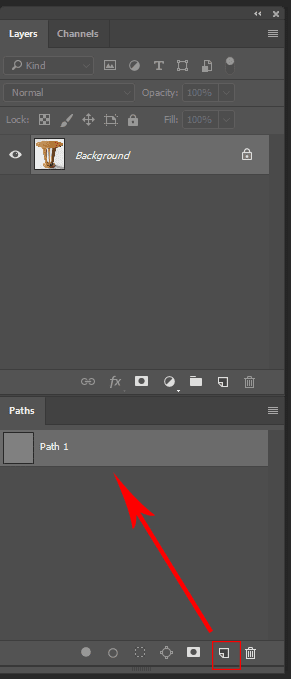
Step 4. Draw a clipping path around your product
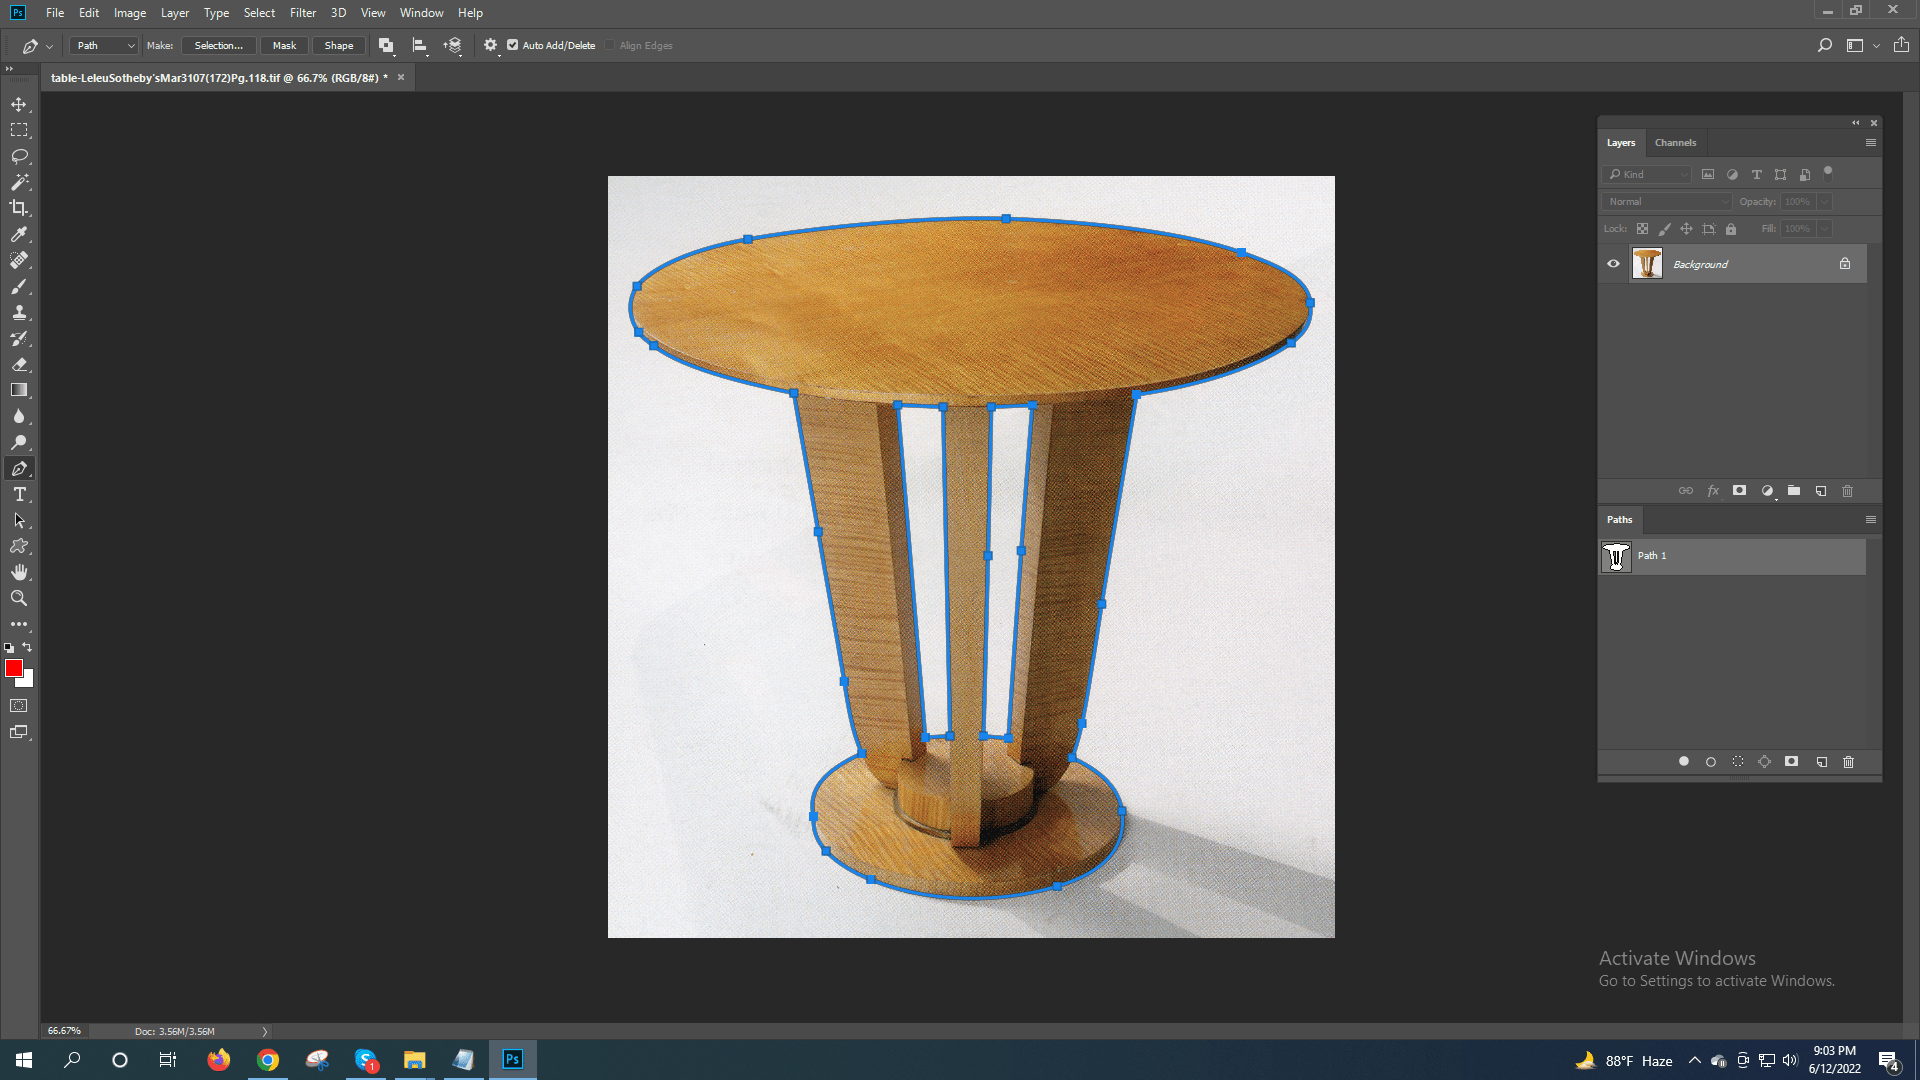
Step 5. Select “Layer Via Copy” to place your selection on a new layer.
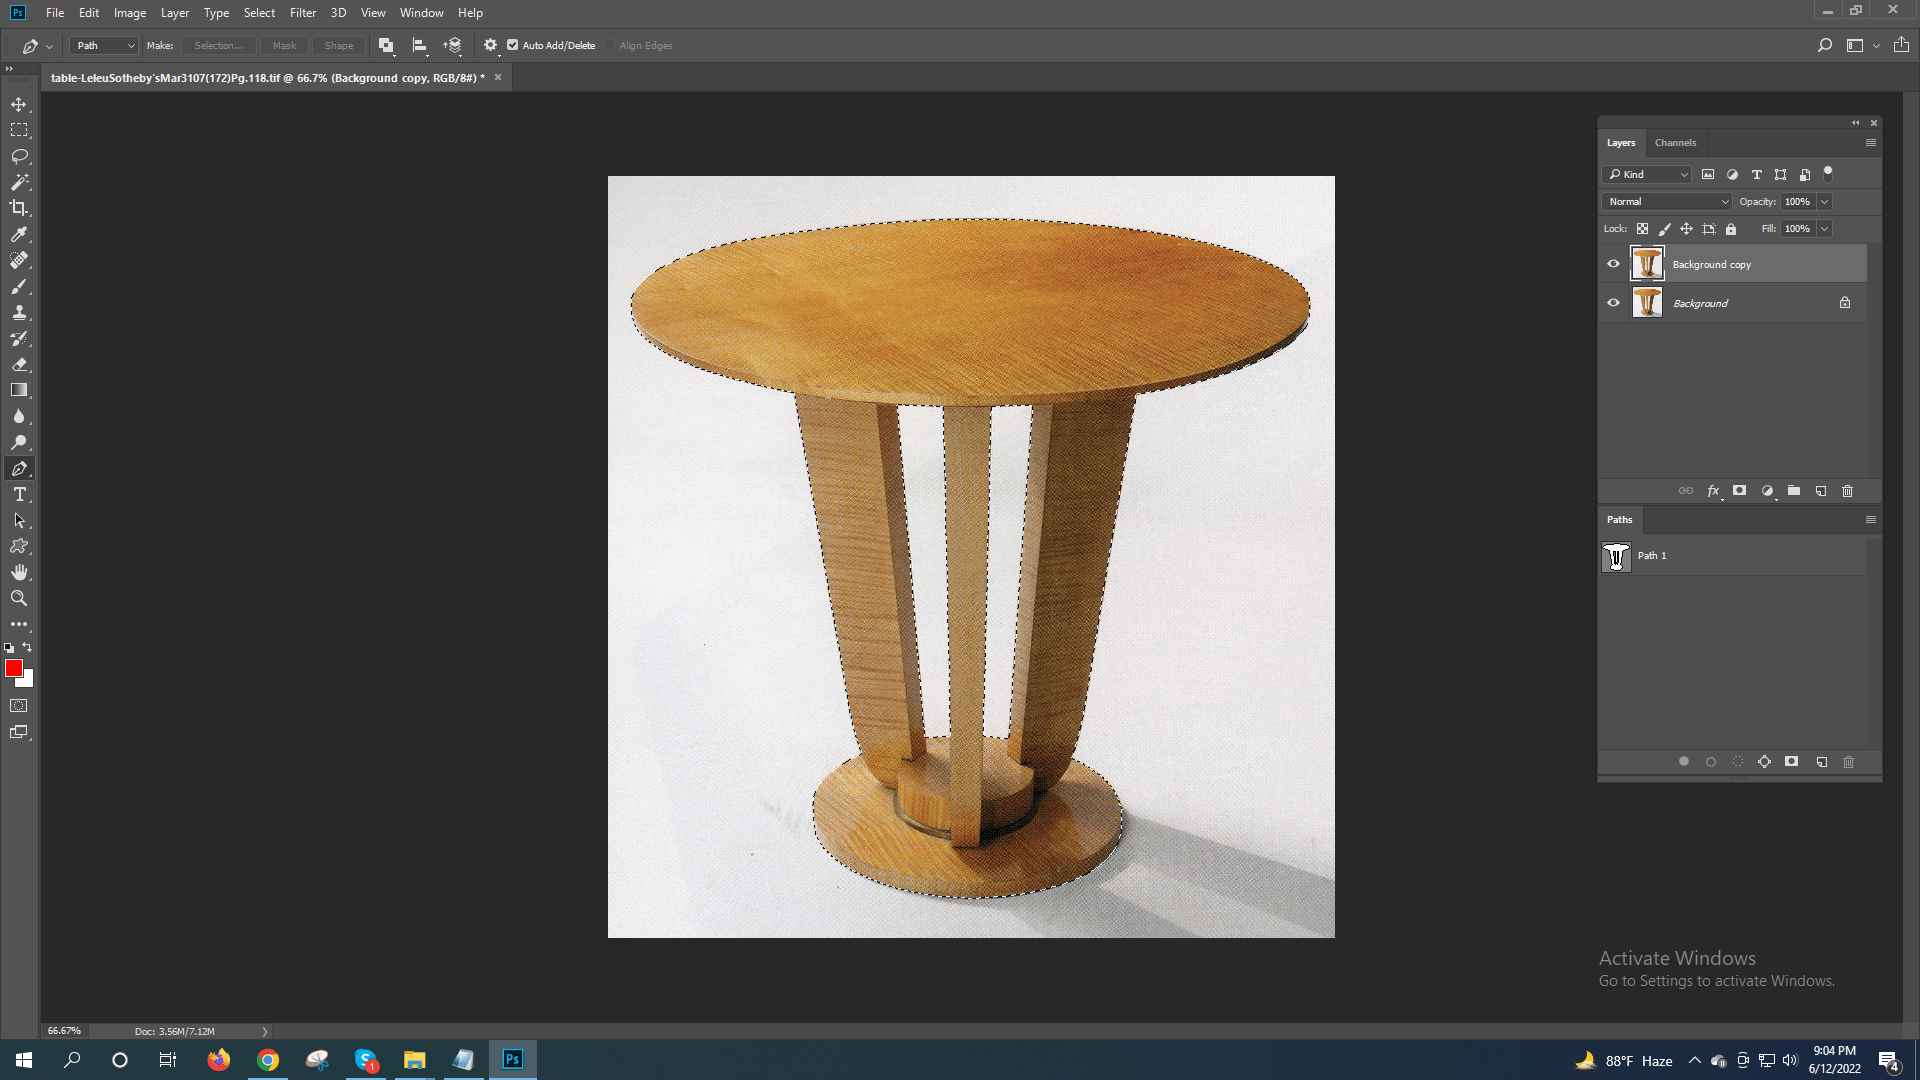
Step 6. Delete the original background layer
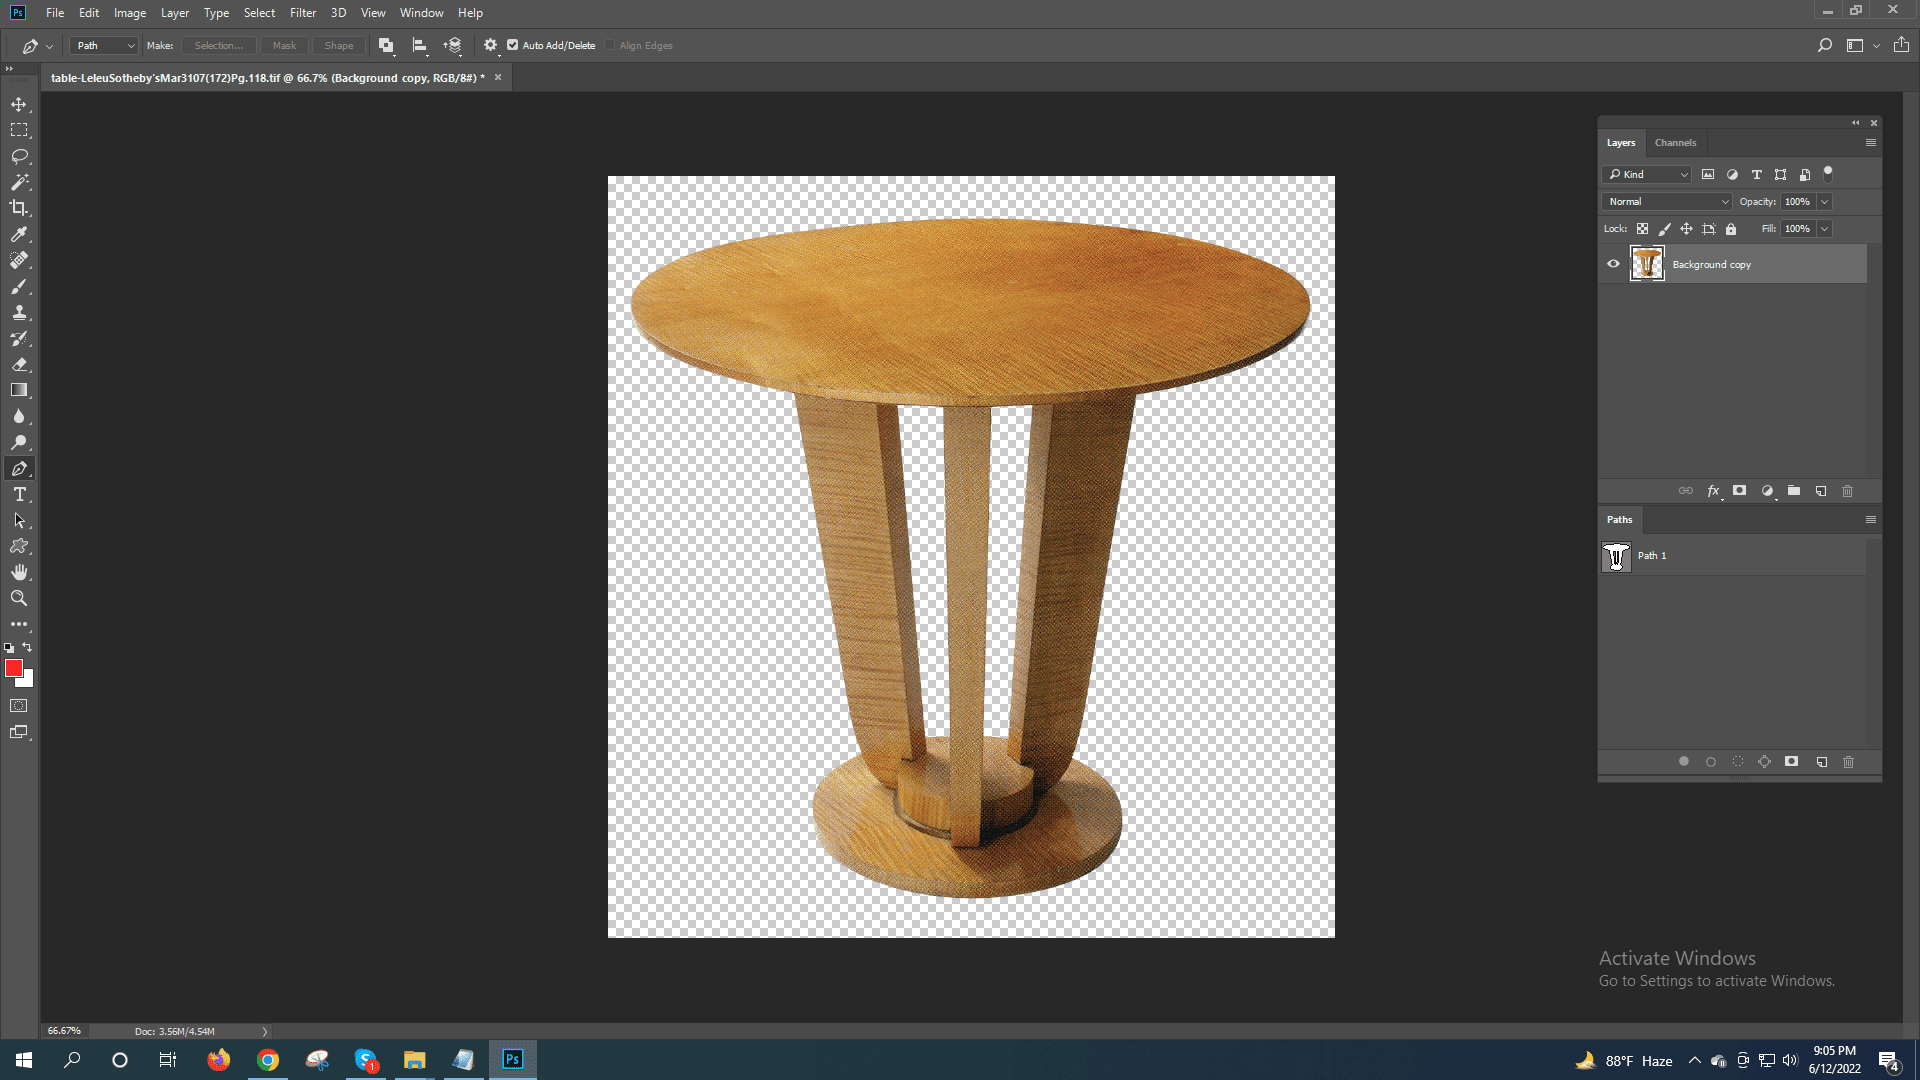
Step 7. Save as a file (or whichever file format you prefer).
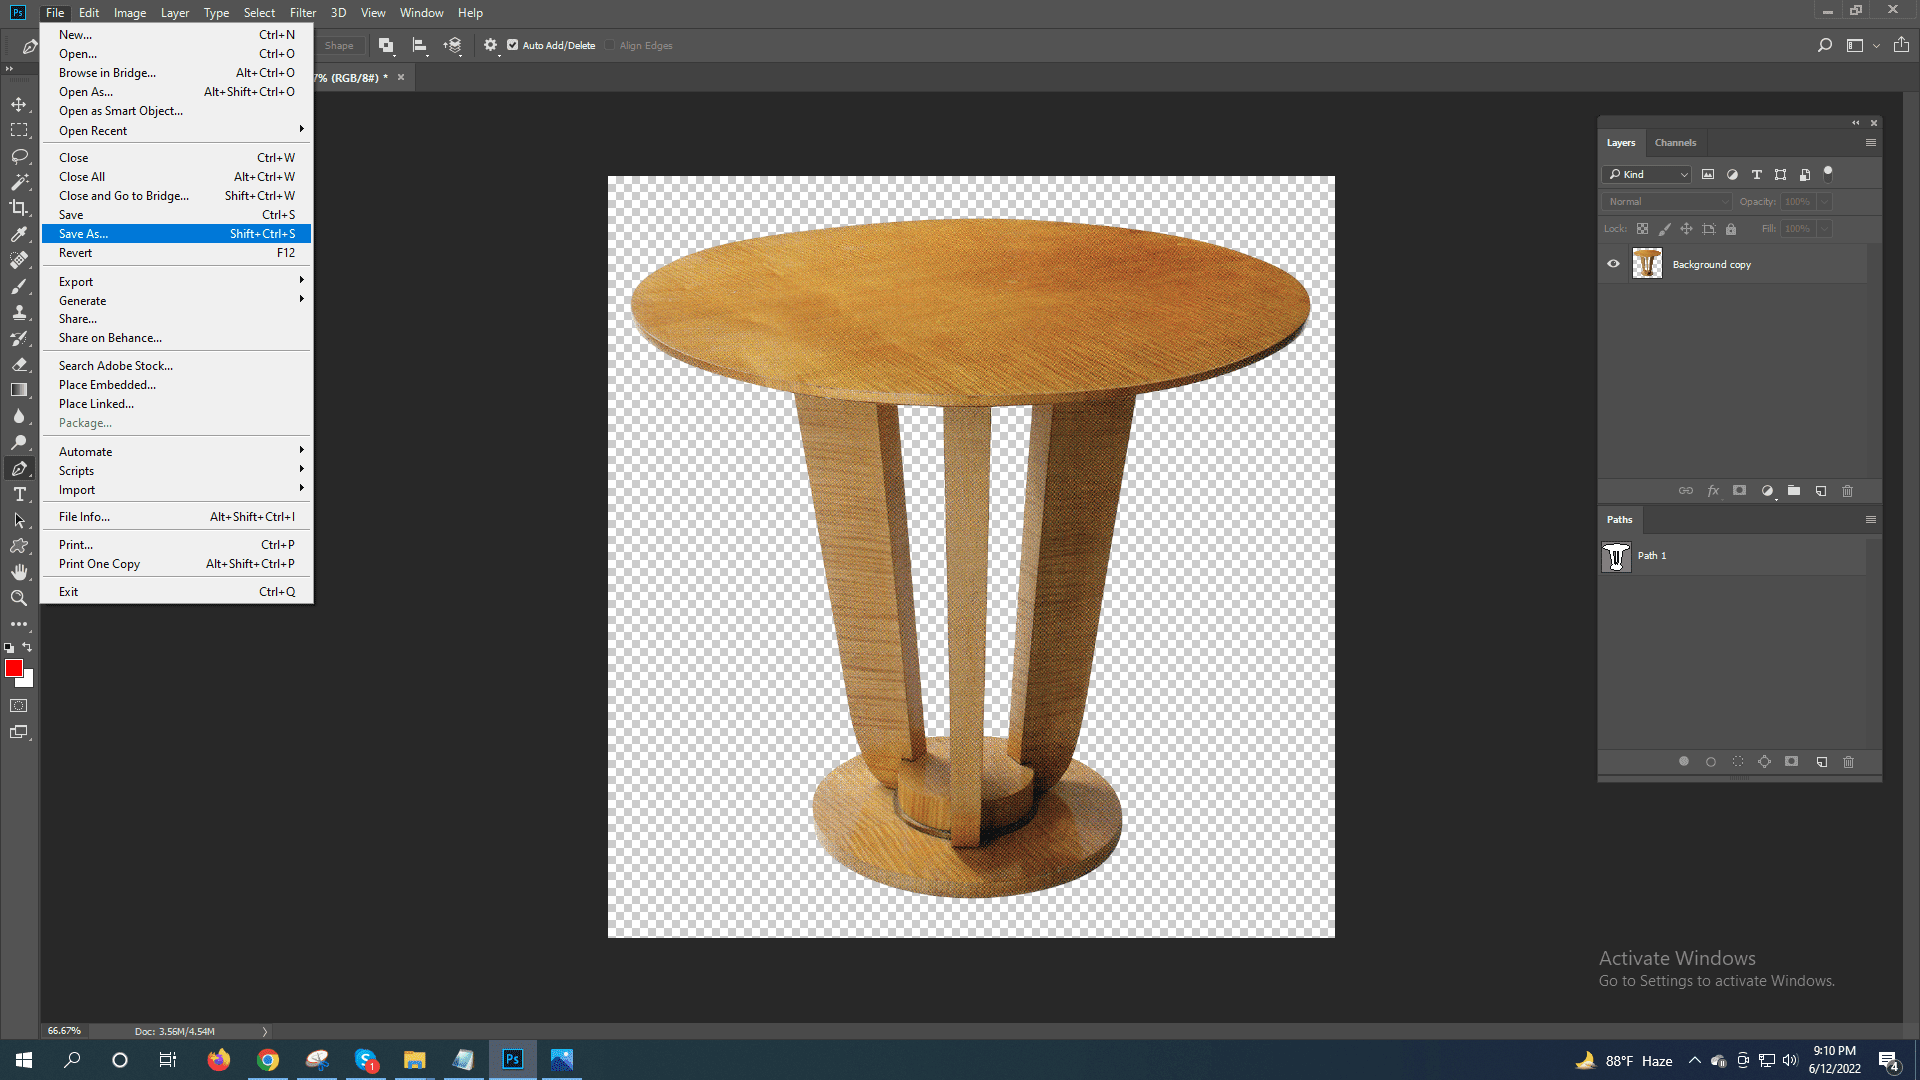
With just seven steps, you can get rid of busy backgrounds and present your products in their best light!
We do keep a timeline on our website so that it is easy to find the latest trends. Just head over to https://photoclippingpathbd.com/blog/ and you will see the latest posts at the top of the page. Here you can find the newest photo editing effect tips and tricks and everything else you need to achieve your passion.
Along with the Background removal service, https://photoclippingpathbd.com offer the solution to correct these issues for you. Simply check the sample here and you make your decision to take our service. We offer a free trial for you. See you next time.

